Table of Contents Show
A digital stopwatch is a versatile tool used in various applications, from sports and fitness to educational projects and prototyping. It provides a precise way to measure time intervals, making it an essential component in many fields. Building a digital stopwatch using Arduino and an LCD display is an excellent project for electronics enthusiasts and beginners alike. This project not only helps you understand the basics of Arduino programming and circuit design but also allows you to create a functional tool that can be customized and expanded. In this blog post, we will guide you through the process of building a digital stopwatch using Arduino and an LCD display, covering the required components, circuit setup, code explanation, and troubleshooting tips.
Step-by-Step Process
Gather Components
Collect Arduino board, LCD display, buttons, resistors, and wiring.
Wire the Circuit
Connect LCD to Arduino, add buttons for control, and verify connections.
Upload Basic Code
Load LCD library and test basic display functionality.
Implement Timer Logic
Write code for start/stop/reset functions using millis().
Test and Debug
Verify stopwatch accuracy and fix any wiring/software issues.
Process infographic for Build a Digital Stopwatch Using Arduino and Lcd Display
What You’ll Need to Build a Digital Stopwatch
Components Required
The following components are required to build a digital stopwatch:
- Arduino board (e.g., Arduino Uno)
Tools and Software
To complete this project, you will need the following tools and software:
- Arduino IDE
Understanding the Basics of a Stopwatch
How a Stopwatch Works
A digital stopwatch works by counting time intervals and displaying them on a screen. The basic functionality of a stopwatch includes start, stop, reset, and timekeeping. The stopwatch starts counting when activated, stops when deactivated, and resets to zero when the reset button is pressed.
Role of Arduino in the Project
Arduino acts as the brain of the stopwatch, controlling the flow of the program and interacting with the user through push buttons. It reads the button presses, updates the time, and displays it on the LCD screen.

LCD Display Integration
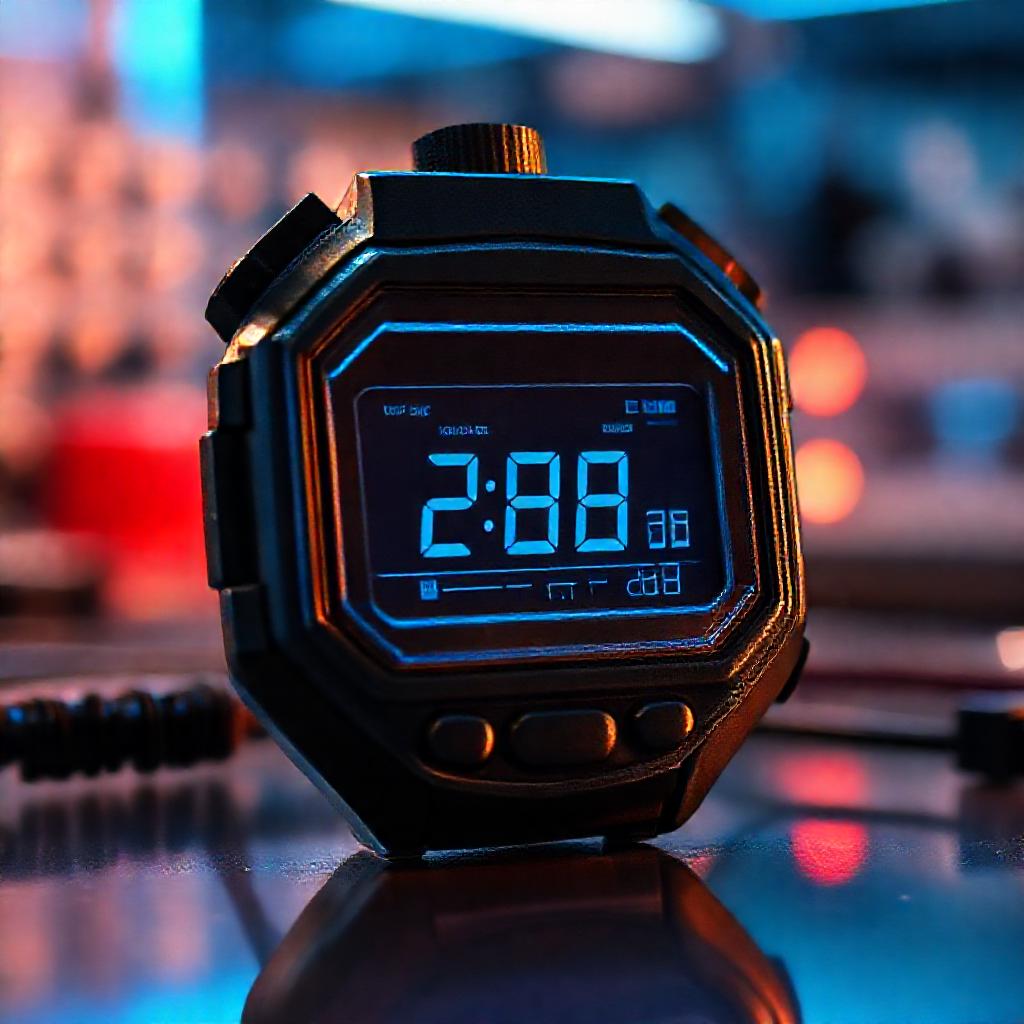
The LCD display shows the time in minutes, seconds, and milliseconds. It is connected to the Arduino board, which sends the time data to the display for showing.
Step-by-Step Guide to Building the Stopwatch
Setting Up the Circuit
To set up the circuit, connect the components as follows:

- Connect the LCD display to the Arduino board (RS to pin 12, E to pin 11, D4 to pin 5, D5 to pin 4, D6 to pin 3, D7 to pin 2)
Writing the Arduino Code
The Arduino code for the stopwatch includes sections for initializing the LCD, configuring buttons, and implementing the stopwatch logic.
includeLiquidCrystal lcd(12, 11, 5, 4, 3, 2); const int button1 = 2; const int button2 = 3; const int button3 = 4; unsigned long startTime = 0; unsigned long stopTime = 0; bool isRunning = false; void setup() { lcd.begin(16, 2); pinMode(button1, INPUT); pinMode(button2, INPUT); pinMode(button3, INPUT); } void loop() { if (digitalRead(button1) == HIGH) { startTime = millis(); isRunning = true; } if (digitalRead(button2) == HIGH && isRunning) { stopTime = millis(); isRunning = false; } if (digitalRead(button3) == HIGH) { startTime = 0; stopTime = 0; isRunning = false; } if (isRunning) { lcd.setCursor(0, 0); lcd.print("Time: "); lcd.print((millis() - startTime) / 1000); lcd.print("s"); } else { lcd.setCursor(0, 0); lcd.print("Time: "); lcd.print((stopTime - startTime) / 1000); lcd.print("s"); } delay(10); }
Uploading and Testing the Code
To upload and test the code, follow these steps:
- Connect the Arduino board to your computer using a USB cable
Troubleshooting Common Issues
LCD Display Not Working
If the LCD display is not working, check the connections and adjust the contrast.
Buttons Not Responding
If the buttons are not responding, ensure proper wiring and debounce implementation in the code.
Inaccurate Timekeeping
If the timekeeping is inaccurate, use the `millis()` function instead of `delay()` and ensure proper debouncing for the buttons.
Enhancing the Stopwatch with Advanced Features
Adding a Lap Timer Functionality
To add a lap timer functionality, modify the code to store the lap times and display them on the LCD screen.

Using a Seven-Segment Display Instead of LCD
Alternatively, you can use a seven-segment display instead of an LCD display.
Integrating a Buzzer for Alerts
You can add a buzzer to sound when the stopwatch starts, stops, or resets.
Applications of Your DIY Digital Stopwatch
Educational Projects
This project can be used to teach programming and electronics in educational settings.
Sports and Fitness Tracking
The stopwatch can be used to time activities or workouts.
Prototyping and Experimentation
This project can serve as a foundation for more complex designs and experiments.
Conclusion
In this blog post, we guided you through the process of building a digital stopwatch using Arduino and an LCD display. We covered the required components, circuit setup, code explanation, and troubleshooting tips. We hope you found this project helpful and enjoyable. Feel free to experiment and customize the stopwatch further, and don’t hesitate to ask questions or share your feedback in the comments section.
FAQ Section
Q: Can I use a different microcontroller instead of Arduino?
A: Yes, other microcontrollers like ESP32 or Raspberry Pi Pico can be used with modifications.
Q: How can I make the stopwatch more accurate?
A: Use the `millis()` function instead of `delay()` and ensure proper debouncing for the buttons.
Q: What if I don’t have an LCD display?
A: You can use a serial monitor or a seven-segment display as an alternative.
Q: Can I power the stopwatch with batteries?
A: Yes, a 9V battery or a battery pack can be used to power the Arduino.
Q: Is this project suitable for beginners?
A: Yes, this project is beginner-friendly and a great way to learn Arduino programming and basic electronics.


