Table of Contents Show
Imagine controlling your Arduino projects with just your voice—no need for Alexa, Google Assistant, or other third-party platforms. With AI voice recognition, you can build custom, offline voice-controlled systems for smart home automation, robotics, or accessibility tools. This guide will walk you through integrating AI voice commands with Arduino, giving you full control over your projects without relying on external services.
Step-by-Step Process
Set Up Hardware
Connect Arduino to a microphone module and speaker for voice input/output.
Install Voice Library
Use libraries like EasyVR or TensorFlow Lite for speech recognition.
Train Voice Commands
Record and train the AI model to recognize specific voice commands.
Code Arduino Logic
Write sketches to process voice commands and trigger Arduino actions.
Test & Debug
Verify voice command accuracy and troubleshoot any connectivity issues.
Process infographic for How to Control Arduino Using Ai Voice Commands (no Alexa Needed)
What is Arduino and Why Use Voice Commands?
Arduino is an open-source microcontroller platform widely used in DIY electronics and IoT projects. Voice commands add a hands-free, intuitive interface, making Arduino devices more interactive. Whether you’re building a smart home system, a robotic arm, or an accessibility tool, voice control enhances usability and convenience.
How AI Voice Recognition Works
AI voice recognition involves converting spoken words into machine-readable commands. The process includes audio capture, noise reduction, speech-to-text conversion, and command execution. Open-source frameworks like TensorFlow Lite or Python-based models enable real-time processing on resource-constrained devices like Arduino.
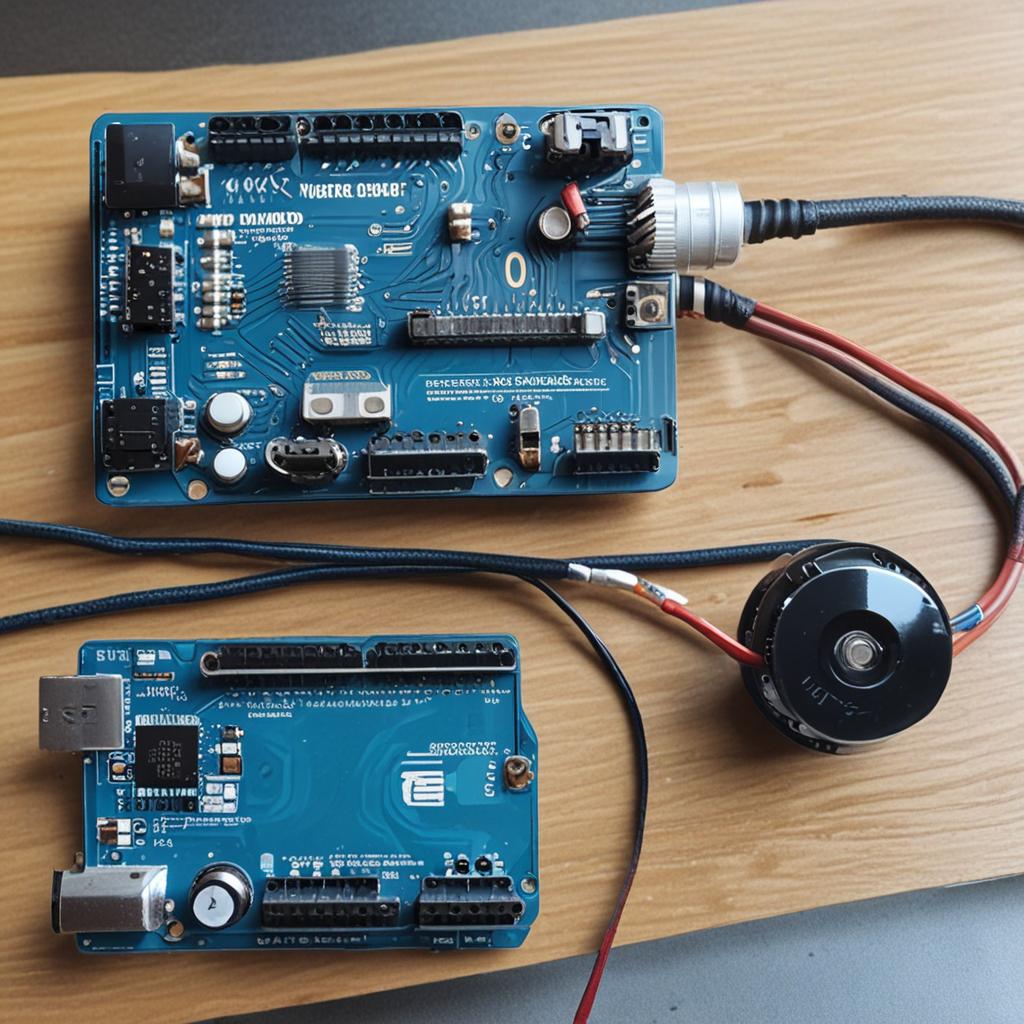
Hardware Requirements for Voice-Controlled Arduino
Essential Components
- Arduino board (Uno, Nano, or Mega)
- Microphone module (e.g., MAX98357 I2S or KY-038)
- Speaker or LED/actuator for output
- Optional: SD card module, amplifier
Schematic Setup and Wiring
Connect the microphone to the Arduino’s I2S or analog input pins. For output, wire LEDs, relays, or motors to digital pins. Ensure proper grounding and shielding to minimize noise interference. A block diagram should show the flow from audio input → AI processing → Arduino output.
Software Setup and AI Integration
Installing Required Libraries and Tools
Use libraries like TensorFlow Lite for Microcontrollers or ArduinoSound for audio processing. Install them via the Arduino IDE’s Library Manager. Python tools like SpeechRecognition may also be useful for training.
Training a Custom Voice Model
Collect voice samples and label them for training. Use Python scripts to preprocess the data (noise reduction, normalization). Train a lightweight model (e.g., CNN or LSTM) and export it to a TensorFlow Lite format compatible with Arduino.

Coding the Arduino for AI Voice Commands
Preparing the AI Model for Deployment
Convert the trained model to a .tflite file and embed it into your Arduino sketch using TensorFlow Lite Micro. Ensure the model fits within the Arduino’s memory constraints.
Writing the Arduino Sketch
The sketch should capture audio, feed it to the AI model, and map recognized commands to actions. For example:
// Pseudocode for voice command handling
if (recognizedCommand == "turn on light") {
    digitalWrite(LED_PIN, HIGH);
}
Debugging and Optimization
Adjust thresholds for better accuracy, retrain with more data, and optimize code for lower latency. Monitor memory usage to avoid crashes.
Real-World Applications and Project Ideas
Smart Home Automation
Control lights, fans, or thermostats with voice commands. Integrate with Wi-Fi or MQTT for remote access.
Robotics and Voice-Activated Systems
Direct robot movements or navigation with spoken instructions. Combine voice control with sensors for advanced interactions.
Accessibility and Assistive Technologies
Build voice-controlled prosthetics or home appliances for individuals with mobility challenges.

Advanced Tips and Customization
Add multi-user support, integrate cloud APIs for complex recognition, or implement voice command security measures like passcodes.
Conclusion
By following this guide, you’ve learned how to harness AI voice control for Arduino projects without relying on third-party services. Whether for smart homes, robotics, or accessibility, the possibilities are endless. Experiment, innovate, and expand your skills with custom voice-controlled systems.
FAQ: How to Control Arduino Using AI Voice Commands
1. Can I use any microphone with Arduino for voice recognition?
I2S microphones like the MAX98357 are ideal, but analog mics can work with proper amplification and noise reduction.
2. What AI platforms are best for beginners?
TensorFlow Lite Micro and Python’s SpeechRecognition library are beginner-friendly options.

3. How do I improve voice command accuracy in noisy environments?
Use acoustic echo cancellation, high-quality mics, and retrain the model with noisy data.
4. Is an internet connection required for AI voice control?
No—offline AI models run directly on Arduino, but cloud APIs require internet.
5. Are there pre-built libraries for AI voice control on Arduino?
Yes, TensorFlow Lite Micro and Arduino’s SpeechRecognition library provide ready-to-use tools.


