
Table of Contents Show
An Arduino Rover Robot, equipped with Bluetooth connectivity and a Motor Driver Shield, offers an exciting entry point into the world of robotics, programming, and wireless control. This project combines the versatility of the Arduino platform with the practicality of remote operation, opening doors to various applications, from educational exploration to custom automation projects. Building this robot not only provides hands-on experience with hardware and software integration but also fosters problem-solving skills and a deeper understanding of embedded systems.
Introduction to Arduino Rover Robot with Bluetooth and Motor Driver Shield
This project guides you through building a simple yet functional Arduino-based rover robot. We’ll utilize a Bluetooth module for wireless control and a Motor Driver Shield to efficiently manage the robot’s motors. This combination simplifies the hardware setup and provides a user-friendly interface for remote operation. The project serves as a practical introduction to robotics, embedded programming, and wireless communication.
By the end of this guide, you will have a fully functional rover capable of being controlled via a Bluetooth-enabled device, such as a smartphone or tablet. You’ll also gain valuable experience in assembling electronic components, writing Arduino code, and troubleshooting common issues in robotics projects. This knowledge can be applied to more complex robotic systems in the future.
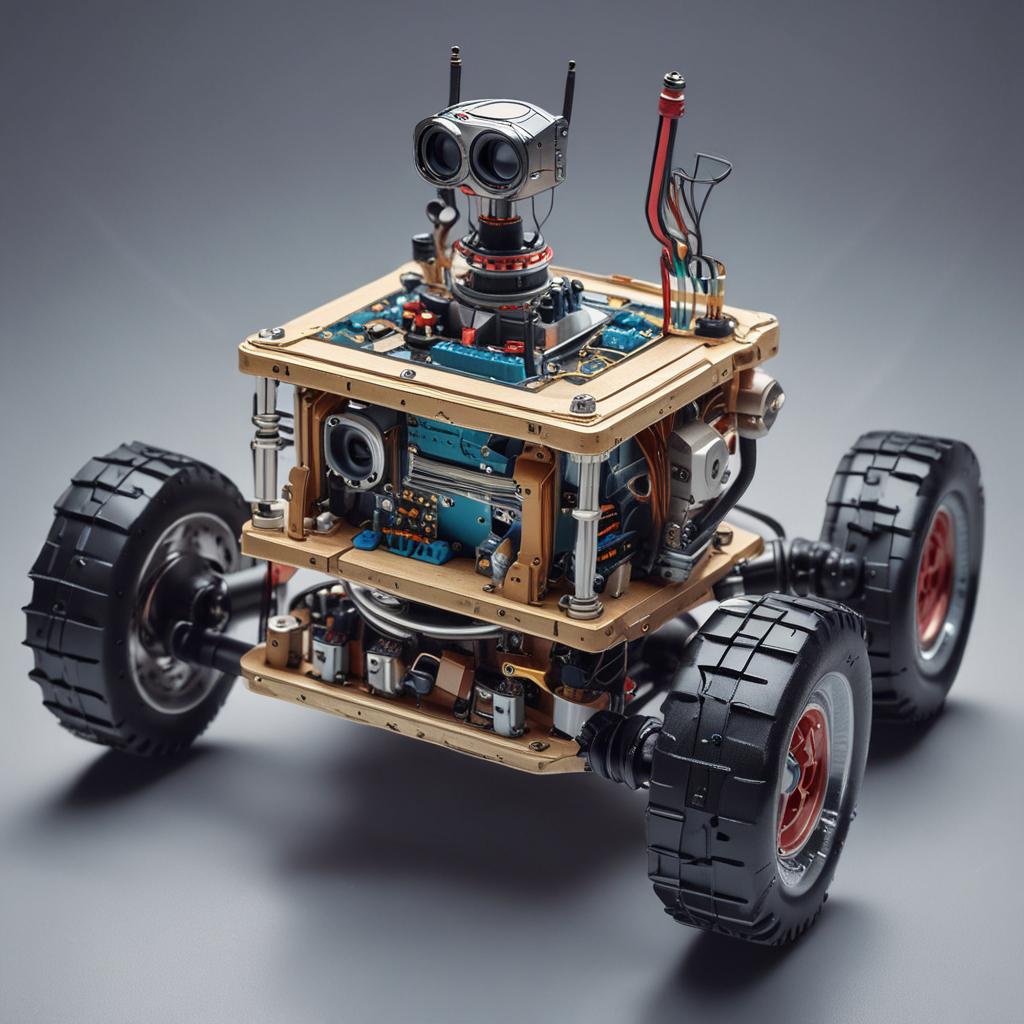
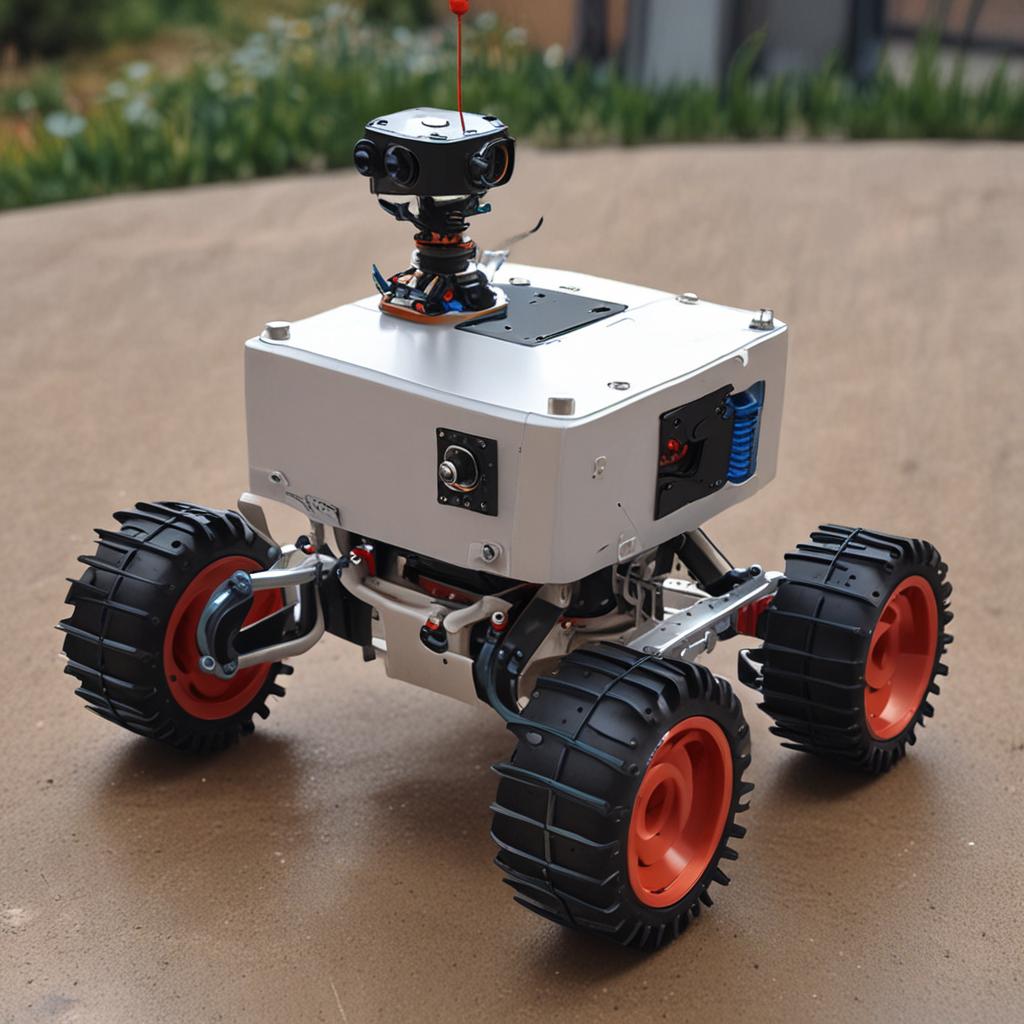
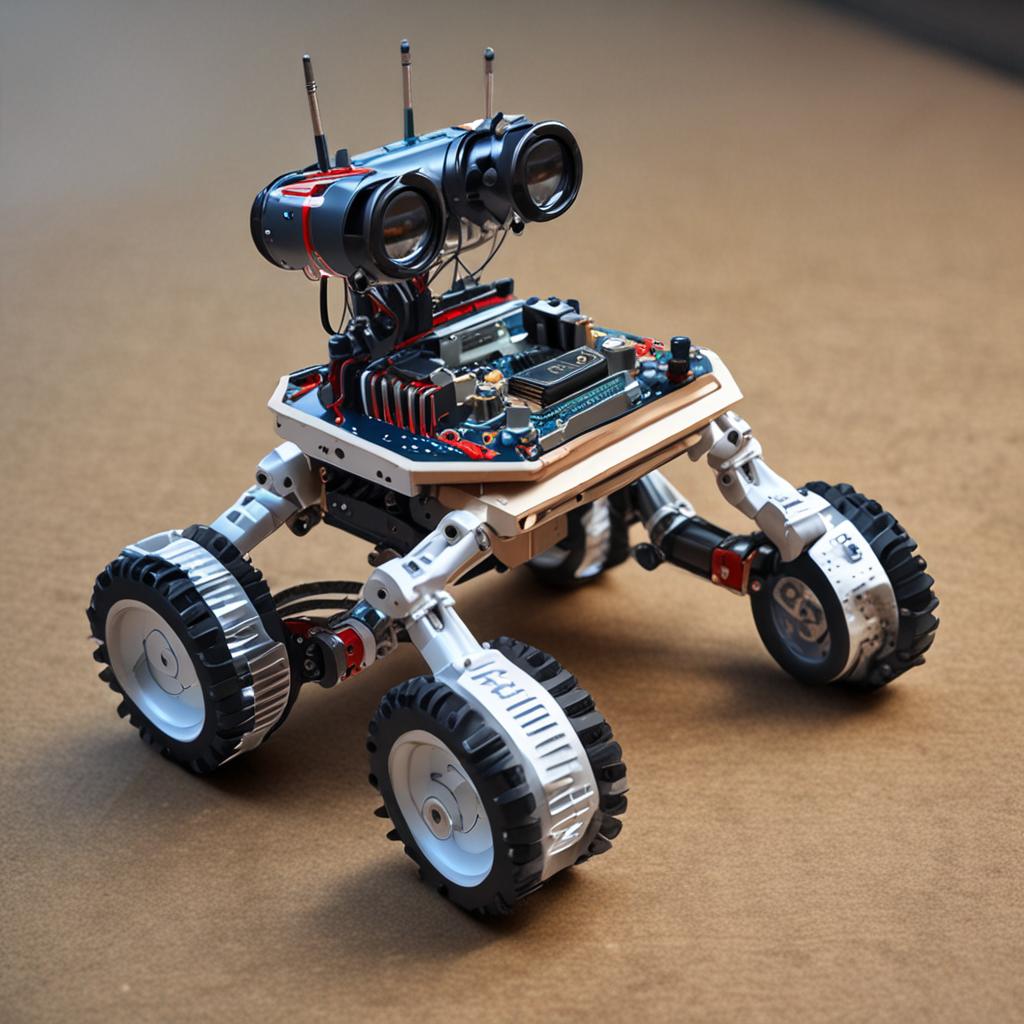
Components and Hardware Requirements
Overview of Arduino Board
The Arduino board acts as the brain of the rover, processing commands and controlling the motors. Suitable boards include the Arduino Uno, Nano, and Mega. The Arduino Uno is a popular choice due to its simplicity and ample I/O pins for this project. Consider the Mega if you anticipate adding more sensors or features, as it offers more memory and pins.
When selecting your Arduino board, ensure it has sufficient digital I/O pins to interface with the Motor Driver Shield and Bluetooth module. The processing power of the Uno is generally adequate for basic rover control, but for more complex algorithms or sensor processing, a more powerful board like the Mega may be beneficial. Check the specifications of the Motor Driver Shield and Bluetooth module to confirm compatibility with your chosen Arduino board.
Bluetooth Module Integration
A Bluetooth module enables wireless communication between the robot and a control device (e.g., smartphone). Common modules include the HC-05 and HC-06. The HC-05 can act as both master and slave, while the HC-06 typically functions as a slave only. These modules communicate with the Arduino via serial communication (UART).
To integrate the Bluetooth module, connect its TX pin to the Arduino’s RX pin, its RX pin to the Arduino’s TX pin (using a voltage divider if necessary), VCC to 5V, and GND to GND. The Arduino code will then use the Serial library to send and receive commands via Bluetooth. Remember to pair your Bluetooth module with your control device before running the Arduino code.
Motor Driver Shield
The Motor Driver Shield simplifies the control of DC motors by providing the necessary voltage and current. Shields like the L298N Motor Driver Shield are commonly used. These shields typically support controlling two DC motors with independent speed and direction control. They interface with the Arduino through digital I/O pins.
When choosing a Motor Driver Shield, ensure it can handle the voltage and current requirements of your chosen motors. The shield connects directly to the Arduino, making wiring much cleaner and easier than wiring directly to the motors. The Arduino code will then control the direction and speed of the motors by sending signals to the shield’s control pins.
Other Essential Components
Besides the core components, you’ll need other essentials. These include DC motors (typically geared for torque), wheels, a chassis to hold everything together, and a power source (batteries or a battery pack). Optional sensors, such as ultrasonic distance sensors, can be added for obstacle avoidance.
Key Metrics
Performance metrics for Arduino Rover Robot with Bluetooth and Motor Driver Shield
Choose motors that provide sufficient torque to move the robot reliably. The chassis should be sturdy enough to support the weight of all components. Select batteries with adequate voltage and capacity to power the Arduino, Motor Driver Shield, and motors. Consider using rechargeable batteries for convenience and cost savings.
Software and Programming
Setting Up the Arduino IDE
The Arduino IDE is the software used to write and upload code to the Arduino board. Download the latest version from the official Arduino website. Install the necessary libraries for Bluetooth communication (e.g., SoftwareSerial) and Motor Driver Shield control (often examples are provided or available via the Library Manager).
After installing the IDE, select your Arduino board type from the “Tools” menu. Also, select the correct COM port that your Arduino is connected to. Before writing any code, test the setup by uploading a simple “blink” sketch to ensure the Arduino is communicating correctly with the IDE.
Writing the Code
The Arduino code will handle Bluetooth communication and motor control. It typically involves initializing the Bluetooth module, reading commands from the Bluetooth serial port, and controlling the motors based on those commands. You’ll need to define the pins used for motor control and Bluetooth communication.
Example code snippets include using the `SoftwareSerial` library to communicate with the Bluetooth module and using `digitalWrite()` to control the motor direction pins on the Motor Driver Shield. Debugging is crucial; use `Serial.print()` statements to monitor the values of variables and the flow of execution. Pay close attention to timing and delays to ensure smooth motor control.
Bluetooth App for Control
A Bluetooth app provides a user-friendly interface for controlling the robot. Apps like “Arduino Bluetooth Controller” or custom apps built with platforms like MIT App Inventor can be used. The app should allow you to send commands (e.g., “forward,” “backward,” “left,” “right,” “stop”) to the Arduino.
The app’s design should be intuitive, with clear buttons or a joystick for controlling movement. The communication protocol between the app and the Arduino should be simple and reliable. Consider adding features like speed control or sensor readouts to enhance the user experience. Test the app thoroughly to ensure it sends the correct commands and responds appropriately to the robot’s actions.
Assembly and Testing
Building the Robot
Assemble the robot by mounting the motors, wheels, and Arduino board with the Motor Driver Shield onto the chassis. Securely attach all components using screws, bolts, or adhesive. Pay attention to cable management to prevent wires from getting tangled or disconnected.
Connect the motors to the Motor Driver Shield according to the shield’s documentation. Connect the Bluetooth module to the Arduino, ensuring correct pin assignments. Double-check all connections before powering on the robot. Use zip ties or cable sleeves to organize the wiring and prevent strain on the connectors.
Initial Testing and Calibration
Before running the full program, test each component individually. Verify that the motors spin in the correct direction when commanded. Ensure that the Bluetooth module is paired and communicating with the Arduino. Calibrate the motor speeds to ensure consistent movement.
Start with low motor speeds during initial testing to prevent the robot from moving too quickly. Use a multimeter to check the voltage levels at various points in the circuit. If a motor spins in the wrong direction, simply swap the motor wires connected to the Motor Driver Shield. Use `Serial.print()` statements in your code to monitor the commands being sent and received.
Applications and Customizations
Potential Applications
An Arduino Rover Robot has numerous applications. It can be used in education to teach robotics and programming principles. It can also be used in research for environmental monitoring or data collection. Hobbyists can customize it for various projects, such as remote-controlled vehicles or automated home assistants.
Imagine using the robot to explore areas that are difficult or dangerous for humans to access. Consider equipping it with sensors to measure temperature, humidity, or air quality. The robot could also be used for surveillance or security purposes. The possibilities are limited only by your imagination.
Customization and Expansion
The robot can be customized with additional sensors, such as ultrasonic distance sensors for obstacle avoidance or line-following sensors for autonomous navigation. Integrate with other devices, such as cameras or robotic arms, to expand its capabilities. Explore machine learning algorithms to enhance its autonomy.
Consider adding a GPS module for tracking the robot’s location. Experiment with different types of wheels or treads to improve its mobility. You could even build a swarm of robots that communicate and cooperate with each other. The project provides a solid foundation for exploring more advanced robotics concepts.
Conclusion
Building an Arduino Rover Robot with Bluetooth and a Motor Driver Shield is a rewarding experience. You’ll gain valuable skills in electronics, programming, and robotics. While you may encounter challenges along the way, the learning process is invaluable. Embrace experimentation and continue to innovate to push the boundaries of what’s possible.
FAQ
-
What are the minimum requirements for the Arduino board to work with a Motor Driver Shield and Bluetooth module?
The Arduino board should have at least 14 digital I/O pins, sufficient memory to store the program (at least 32KB), and a clock speed of at least 16MHz. An Arduino Uno is typically sufficient, but for more complex projects, an Arduino Mega might be necessary.
-
How do I ensure stable Bluetooth connectivity for controlling the robot?
Position the Bluetooth module away from potential sources of interference, such as motors or other electronic components. Using an external antenna can improve the range and stability of the Bluetooth connection. Configure the Bluetooth module with a strong signal strength and use a reliable communication protocol in your Arduino code.
-
Can I use this robot project as a base for more complex autonomous robots?
Yes, this project provides a foundational understanding of robotics principles. By adding more advanced sensors (e.g., LiDAR, GPS) and implementing algorithms for path planning and obstacle avoidance, you can transform it into a sophisticated autonomous robot. It’s a great starting point for learning about AI and machine learning in robotics.
-
What safety precautions should I take when building and testing the robot?
Always disconnect the power source before making any wiring changes. Avoid short circuits by carefully insulating all connections. Ensure that the robot operates on a stable and level surface to prevent it from tipping over. Use appropriate safety glasses when working with tools or handling electronic components.
-
Where can I find more resources or communities for help with my Arduino projects?
The official Arduino website (arduino.cc) has extensive documentation, tutorials, and forums. Websites like Instructables and Hackaday feature numerous Arduino projects and tutorials. Online communities like Reddit’s r/arduino and DIY robotics forums are great places to ask questions and share your projects.


