Table of Contents Show
Building a smart weather station is a fantastic way to learn about electronics, programming, and environmental science, all while creating a useful tool for your home or garden. Using the ESP32, a powerful and affordable microcontroller with built-in Wi-Fi, you can create a weather station that transmits real-time data to the cloud, allowing you to monitor conditions remotely. This project is ideal for hobbyists, students, and anyone interested in DIY electronics and the Internet of Things (IoT).
Introduction: Why Build a Wi-Fi Enabled Weather Station with ESP32?
A smart weather station provides numerous benefits, from helping you optimize your garden’s watering schedule to providing valuable data for environmental monitoring. The ESP32 is ideally suited for this task due to its built-in Wi-Fi connectivity, which allows for seamless data transmission to the internet. The low cost and ease of use of the ESP32 also make it an accessible platform for beginners. Its versatility allows for a wide range of applications, including home automation, gardening, environmental monitoring, and even educational projects for students.
Understanding the ESP32 and Its Capabilities for Weather Monitoring
The ESP32 is a powerful microcontroller known for its dual-core processor, integrated Wi-Fi and Bluetooth capabilities, and low power consumption, making it perfect for IoT projects like weather stations. Its numerous GPIO (General Purpose Input/Output) pins allow for easy connection to various sensors, while its low power consumption makes it suitable for battery-powered operation. Unlike alternatives like Arduino (which often requires additional Wi-Fi modules) or Raspberry Pi (which consumes significantly more power), the ESP32 offers a balanced solution for weather monitoring applications.
Key Features of the ESP32 That Make It Ideal
- Built-in Wi-Fi for real-time data transmission
- Low power modes for battery operation
- Integrated ADCs and support for multiple sensors
- Support for popular IoT platforms (e.g., Blynk, ThingSpeak, MQTT)
ESP32 Development Environments
- Arduino IDE setup: User-friendly and widely supported.
- PlatformIO: A professional, cross-platform IDE.
- ESP-IDF (optional for advanced users): Espressif’s native development framework.
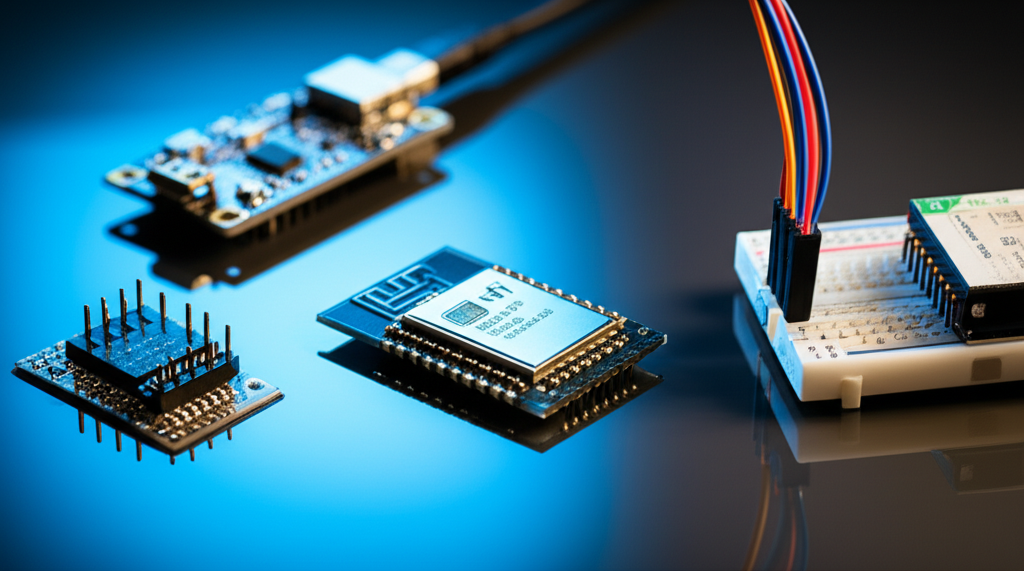
Essential Components for Your ESP32 Weather Station
To build your ESP32 weather station, you’ll need a few key hardware components. These include the ESP32 development board itself, sensors for measuring temperature, humidity, and pressure, and some basic electronic components for wiring everything together. Depending on your desired functionality, you can also add sensors for measuring rain, wind speed, direction, and UV levels.
Core Components
- ESP32 development board (e.g., ESP32 DevKit)
- Temperature, humidity, and pressure sensor (e.g., DHT22, BME280)
- Optional: Rain sensor, wind speed/direction sensor, UV sensor
- Breadboard and jumper wires
- Power source (USB, battery, or solar)
Sensor Selection Guide
- Comparison of DHT22 vs. BME280: The BME280 offers higher accuracy and measures barometric pressure, using I2C communication. The DHT22 is less accurate and uses digital communication.
- When to use additional sensors: Consider a rain sensor if you need to track rainfall, wind sensors to measure wind speed and direction, and a UV sensor to monitor ultraviolet radiation.
- Tips for sensor placement and weatherproofing: Place sensors in a shaded area with good ventilation and use a weatherproof enclosure to protect them from the elements.
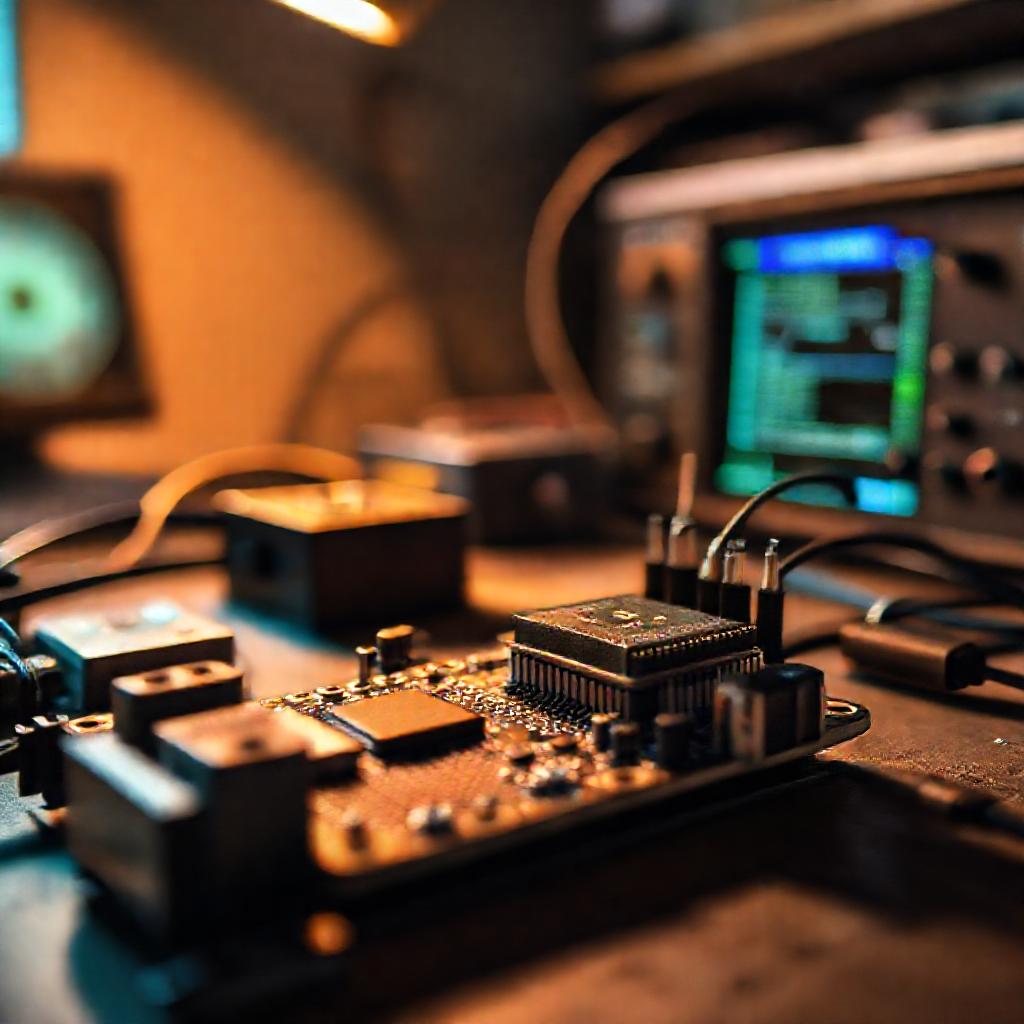
Assembling the Hardware: Step-by-Step Wiring Guide
Connecting the sensors to your ESP32 is a straightforward process. Most sensors communicate using either I2C or digital connections. Careful wiring is crucial for accurate data collection. Ensuring the correct pins are connected and using appropriate resistors (if needed) will help prevent errors and ensure reliable operation.
Essential Checklist
Goal Definition
Clearly define objectives and success metrics
Resource Planning
Allocate necessary time, budget, and personnel
Implementation Strategy
Develop step-by-step execution plan
Quality Assurance
Establish testing and validation procedures
Performance Monitoring
Set up tracking and reporting systems
Essential items for Create a Wi-fi Enabled Weather Station Using Esp32
Connecting the BME280 Sensor via I2C
- Wiring pins (SDA to SDA, SCL to SCL, VCC to 3.3V, GND to GND)
- Pull-up resistors (typically 4.7k ohms) may be needed on SDA and SCL lines, depending on your specific ESP32 board.
- Address configuration: The BME280 usually has a default I2C address, but some modules allow you to change it using a pin.
Integrating Additional Sensors
- DHT22 for temperature/humidity: Connect the data pin to a digital pin on the ESP32.
- Rain sensor: Connect the analog or digital output to an appropriate pin on the ESP32.
- Anemometer: Count pulses from the anemometer using an interrupt pin on the ESP32.
Building a Weatherproof Enclosure
- 3D-printed vs. plastic project box: 3D-printed enclosures offer customization, while plastic project boxes are readily available and affordable.
- Ventilation for accurate temperature readings: Ensure the enclosure has ventilation to prevent heat buildup inside.
- Mounting tips for outdoor use: Mount the enclosure securely in a location that is representative of the surrounding environment and protected from direct sunlight and extreme weather.
Programming the ESP32 Weather Station
The ESP32 is programmed using the Arduino IDE or other development environments like PlatformIO. The code involves setting up the Wi-Fi connection, reading data from the sensors, formatting the data, and sending it to a cloud platform. Libraries are available for most sensors, simplifying the coding process.
Setting Up the Development Environment
- Installing ESP32 board in Arduino IDE: Add the ESP32 board to the Arduino IDE using the Boards Manager.
- Installing required libraries (e.g., Adafruit BME280, WiFi.h, HTTPClient.h): Install the necessary libraries through the Arduino IDE Library Manager.
Core Code Structure
- Wi-Fi connection setup: Connect to your Wi-Fi network using your SSID and password.
- Sensor data reading functions: Use the appropriate libraries to read data from your sensors.
- Data formatting (JSON or plain text): Format the sensor data into a structured format like JSON or plain text for easy transmission and parsing.
Uploading Data to the Cloud
- Sending data to ThingSpeak, Blynk, or a custom server: Choose an IoT platform and use its API to send your data.
- Using HTTP POST requests: Use HTTP POST requests to send the data to the cloud platform.
- Handling connection failures and retries: Implement error handling to gracefully handle connection failures and retry sending data.
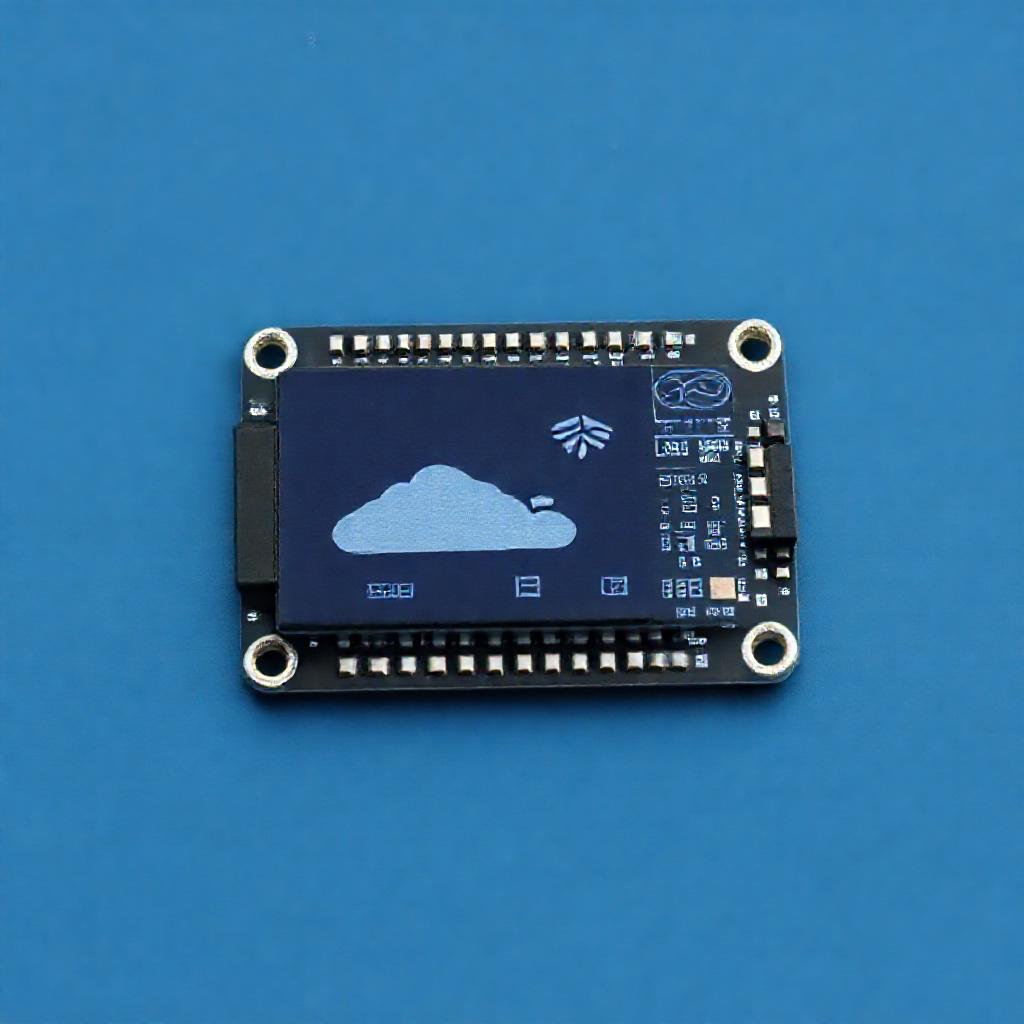
Displaying and Visualizing Weather Data
Once your weather station is collecting data, you’ll want to visualize it. Several options exist, including using IoT platforms like ThingSpeak or Blynk, or creating your own local display with an OLED or TFT screen. Each method offers different features and levels of customization.
Using IoT Platforms
- Setting up a dashboard on ThingSpeak: Create a ThingSpeak account and set up a channel to receive your data.
- Real-time graphs and alerts with Blynk: Blynk offers a user-friendly interface for creating real-time graphs and setting up alerts.
- MQTT with Node-RED for advanced visualization: Use MQTT to send data to Node-RED for advanced data processing and visualization.
Local Display Options
- Connecting an OLED or TFT screen to ESP32: Connect an OLED or TFT screen via I2C or SPI.
- Displaying live readings on a web server hosted by ESP32: Host a simple web server on the ESP32 to display live readings.
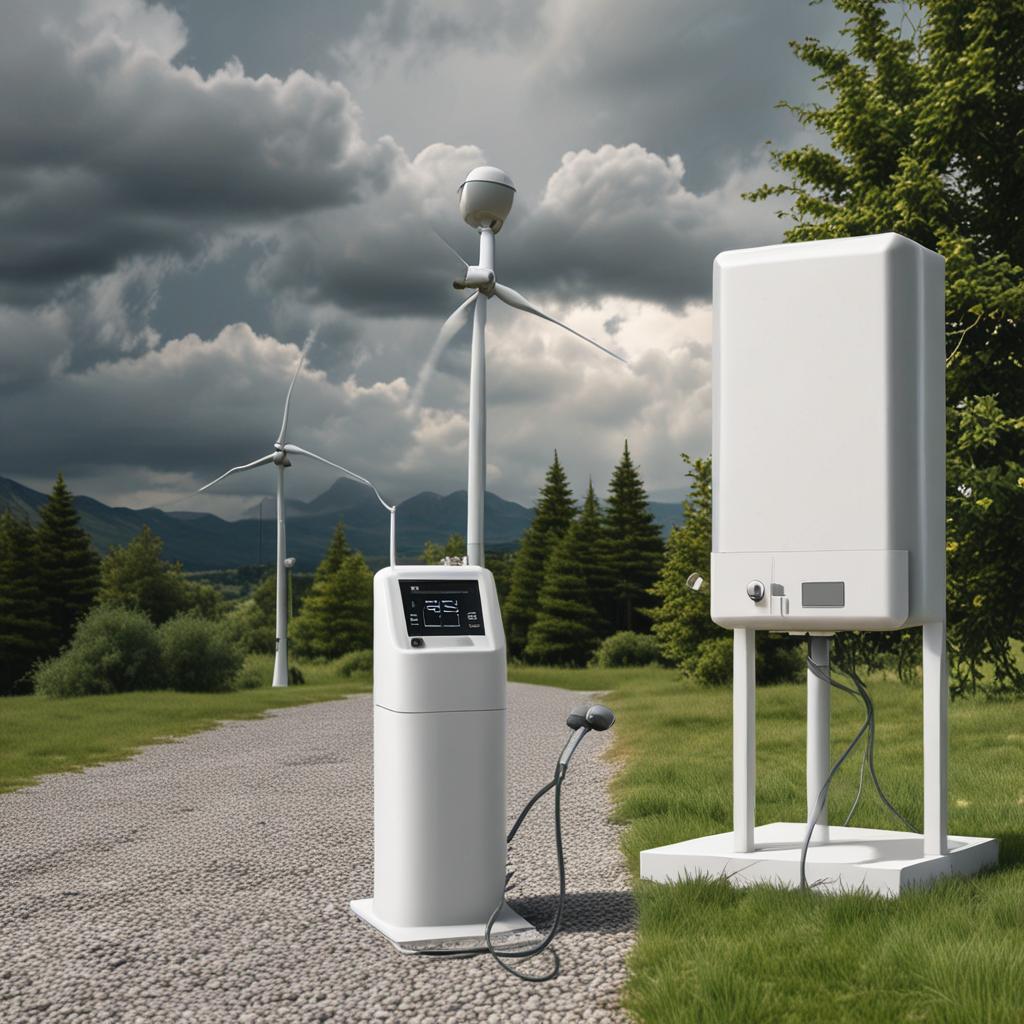
Powering and Deploying Your Weather Station
Consider how you’ll power your weather station for long-term operation. Options include using batteries, solar power, or a USB connection. Proper mounting and calibration are also essential for accurate readings and reliable performance.
Power Management Strategies
- Using lithium batteries with charging modules: Use a LiPo battery and a charging module to provide portable power.
- Solar power setup with charge controller: Connect a solar panel and a charge controller to provide renewable power.
- Deep sleep mode to extend battery life: Utilize the ESP32’s deep sleep mode to conserve power when data is not being actively collected or transmitted.
Mounting and Calibration
- Best placement for accurate readings (away from direct sunlight, heat sources): Choose a location that is representative of the surrounding environment and shielded from direct sunlight and heat sources.
- Calibrating sensor data against known references: Compare your sensor readings to known references to calibrate the sensors.
- Maintenance tips (cleaning sensors, checking connections): Regularly clean your sensors and check connections to ensure accurate readings and reliable operation.
Troubleshooting Common Issues
Building a weather station can present challenges. Common issues include inaccurate sensor readings, Wi-Fi connection problems, and ESP32 crashes. Addressing these issues systematically will ensure a successful project.
Sensor Readings Are Inaccurate
- Check wiring and power supply: Ensure all connections are secure and the power supply is stable.
- Ensure proper sensor calibration: Calibrate the sensors using known references.
- Avoid heat sources near temperature sensors: Keep temperature sensors away from heat sources to prevent inaccurate readings.
Wi-Fi Connection Drops
- Improve signal strength: Ensure the ESP32 has a strong Wi-Fi signal.
- Add retry logic in code: Implement retry logic in your code to automatically reconnect to Wi-Fi if the connection drops.
- Use static IP or better router settings: Configure a static IP address for the ESP32 or adjust your router settings for better performance.
ESP32 Resets or Crashes
- Check for power instability: Ensure the ESP32 has a stable power supply.
- Reduce sensor polling frequency: Reduce the frequency at which you are reading data from the sensors.
- Debug using Serial Monitor: Use the Serial Monitor to debug your code and identify any potential issues.
Expanding Your Weather Station: Advanced Features
Once you have a basic weather station running, you can expand its functionality with additional sensors and features. Consider adding sensors for air quality, soil moisture, or lightning detection, or integrating your weather station with your home automation system.
Adding More Sensors
- CO2, air quality (MQ-135), lightning detection: Add sensors to measure CO2 levels, air quality, and lightning strikes.
- Soil moisture for agricultural use: Add a soil moisture sensor to monitor soil conditions.
Integrating with Home Automation
- Trigger fans or windows based on temperature: Automate your home based on weather conditions.
- Weather-based irrigation systems: Create an irrigation system that adjusts watering schedules based on weather data.
Building a Weather Network
- Deploy multiple stations for hyper-local data: Create a network of weather stations to collect hyper-local data.
- Share data publicly or with local communities: Share your data with the public or local communities.
Conclusion: Your Personalized Smart Weather Solution
Building an ESP32 weather station is a rewarding project that combines electronics, programming, and environmental monitoring. It provides a cost-effective, customizable, and educational way to create a practical IoT application. You can gain valuable insights into your local environment, automate tasks around your home, and even contribute to broader environmental monitoring efforts. Experiment with different sensors, cloud platforms, and display options to create a weather station that perfectly meets your needs.
Frequently Asked Questions (FAQ)
Can I run the ESP32 weather station on battery power?
Yes. The ESP32 supports deep sleep modes, allowing battery operation for weeks or months. Use a LiPo battery with a charging circuit and solar panel for extended outdoor use.
What’s the best sensor for accurate temperature and humidity?
The BME280 is recommended over the DHT22 due to higher accuracy, barometric pressure measurement, and I2C interface for cleaner wiring.
How do I view my weather data remotely?
You can send data to cloud platforms like ThingSpeak or Blynk and access real-time dashboards from any device with internet.
Can I add a display to show readings locally?
Yes. Connect an OLED screen (e.g., SSD1306) via I2C to show live data without needing a phone or computer.
Is programming experience required to build this project?
Basic Arduino knowledge helps, but complete code examples and step-by-step guides make it accessible for beginners.


