Table of Contents Show
Have you ever wanted to build your own interactive game from scratch using real electronics? With just an Arduino and a few push buttons, you can create a fun and educational project that brings coding and hardware together in an exciting way. Building simple games with Arduino is not only entertaining but also a fantastic way to grasp core concepts in electronics and programming. In this guide, we’ll walk you through creating a basic reaction-based game using push buttons, covering everything from setting up your hardware to writing and testing the code. Whether you’re a beginner or looking to sharpen your skills, this hands-on project will give you confidence and inspiration to explore more advanced builds.
Historical Timeline
2005
Arduino platform is introduced, enabling DIY electronics.
2010
Basic push button tutorials become popular in Arduino community.
2015
Simple game projects using Arduino and push buttons emerge.
2020
Educational kits for Arduino games with push buttons are released.
Phase 5
Advanced game development using Arduino and multiple inputs.
Timeline infographic for Creating a Simple Game Using Arduino and Push Buttons
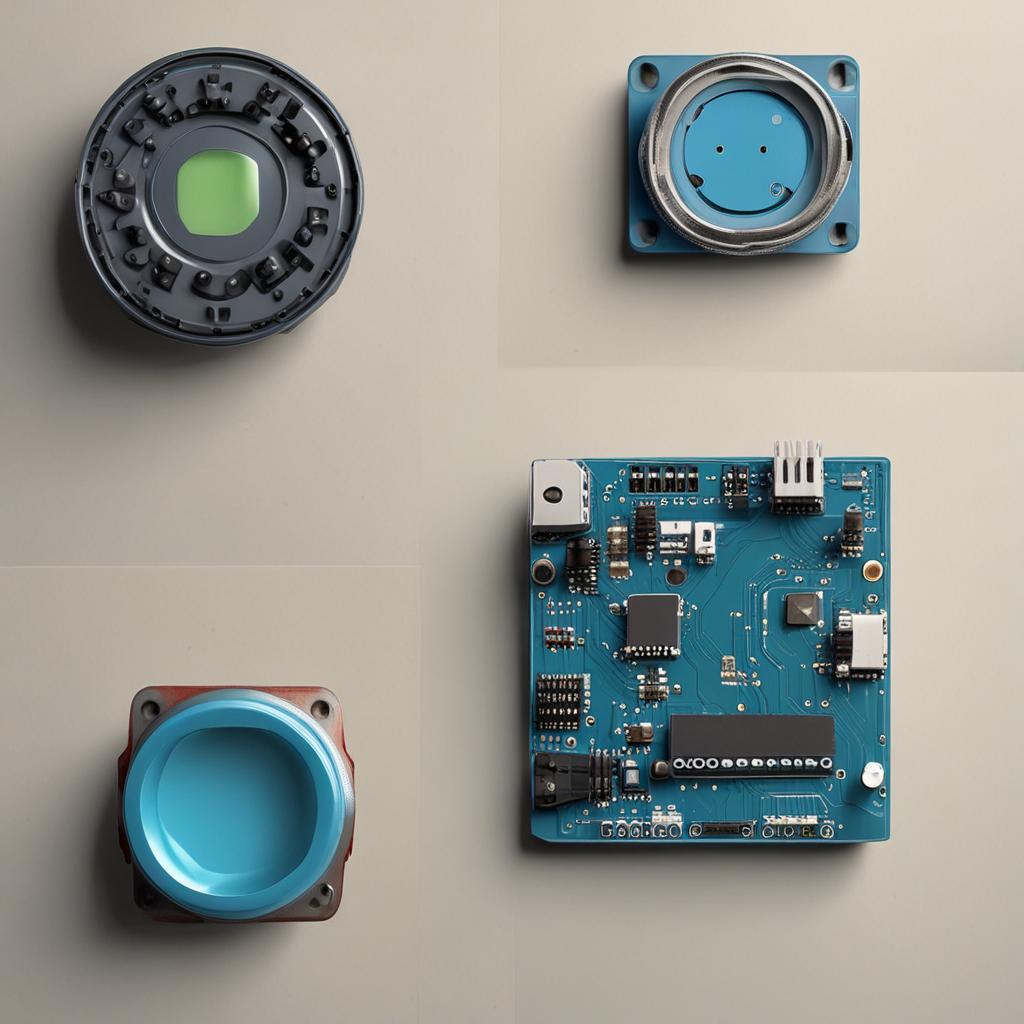
What is Arduino?
Arduino is an open-source electronics platform that makes it easy to create interactive projects by combining simple hardware with user-friendly software. It consists of a microcontroller board that can read inputs—like button presses or sensor data—and control outputs such as LEDs, motors, or displays. Thanks to its vast community and extensive libraries, Arduino is ideal for beginners diving into the world of physical computing.
For beginners, the Arduino Uno is one of the most popular choices due to its reliability, wide compatibility, and abundance of learning resources. Other beginner-friendly options include the Arduino Nano and the Arduino Leonardo, both of which offer compact designs and similar functionality.
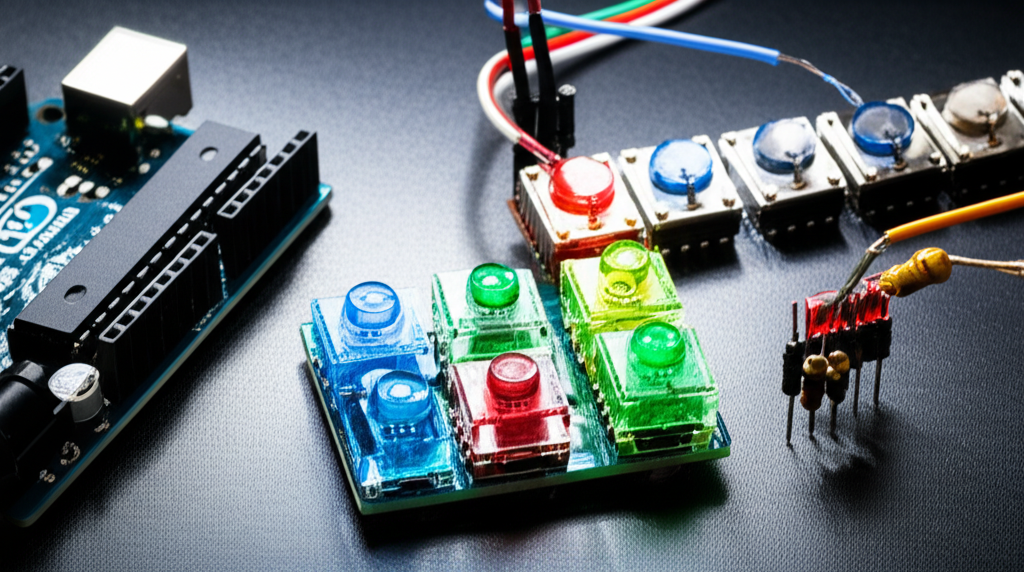
Push Buttons in Arduino Projects
Push buttons are simple input devices that complete a circuit when pressed, allowing current to flow. In Arduino projects, they are commonly used to trigger actions such as turning on an LED, starting a timer, or making a selection in a game. When released, the button breaks the circuit, stopping the signal.
There are different types of push buttons, including momentary (which return to their original state when released) and latching (which stay pressed until pressed again). For most game applications, momentary push buttons are preferred because they respond quickly to user input and are widely available.
Setting Up Your Development Environment
Hardware Requirements
To get started, you’ll need a few basic electronic components. These are affordable, easy to find, and reusable for future projects.
- Arduino Uno (or compatible board)
- 2x Push buttons
- Breadboard
- Jumper wires (male-to-male)
- 2x 10kΩ resistors (pull-down resistors)
- USB cable (for power and programming)
You can purchase these components individually or as part of an Arduino starter kit from online retailers like Amazon, Adafruit, SparkFun, or local electronics stores. Starter kits often include extra parts and a project booklet, making them excellent for beginners.
Software Requirements
The Arduino Integrated Development Environment (IDE) is the software used to write and upload code to your board. It’s free, cross-platform, and designed specifically for Arduino development. To install it, visit the official Arduino website, download the version for your operating system, and follow the installation instructions.
Once installed, open the IDE and go to Tools > Board to select your board type (e.g., Arduino Uno). Then, connect your Arduino via USB and select the correct port under Tools > Port. This setup ensures your computer can communicate with the board during programming.
Connecting Push Buttons to Arduino
Wiring the Push Buttons
Wiring push buttons correctly is essential for reliable input. Each button will be connected between a digital pin and ground, with a pull-down resistor to prevent false readings. Here’s how to wire one button—repeat the same for the second:
- Insert the push button into the breadboard so its legs span the center gap.
- Connect one leg to Arduino’s 5V pin.
- Connect the opposite leg to a digital pin (e.g., pin 2).
- Connect the same digital pin to ground through a 10kΩ resistor (this acts as a pull-down resistor).
This configuration ensures that the digital pin reads LOW when the button is not pressed and HIGH when it is. Using two buttons allows for interactive gameplay, such as player vs. player or start/stop controls.
Reading Button States
Arduino reads digital inputs using the digitalRead() function. In your code, you’ll configure each button pin as an input and periodically check its state. Here’s a simple example:
int buttonState = digitalRead(2);
If buttonState equals HIGH, the button is pressed. To avoid erratic behavior caused by mechanical bouncing (when a button rapidly toggles states upon pressing), you can either use a small delay or implement software debouncing. For smooth gameplay, software debouncing is preferred and can be done using timing checks in the code.
Creating a Simple Game Logic
Game Concept
Let’s create a “Reaction Speed Game” where the goal is to press your button as quickly as possible after a signal—such as an LED turning on. Two players can compete to see who reacts faster, or you can play solo to beat your best time. The game starts with a random delay, then activates a signal, and measures how fast the player responds.
The rules are simple: don’t press the button before the signal. If you do, you’re disqualified. After a valid press, the game displays the reaction time in milliseconds. This concept teaches timing, conditional logic, and user feedback—core programming skills in a fun context.
Game Code Structure
A well-structured Arduino program includes three main parts: variable declarations, the setup() function, and the loop() function. Additional custom functions can help organize the code. For our game:
- Define pins for buttons and LEDs
- Initialize serial communication for debugging
- Use random delays and timing functions to control game flow
- Calculate and display reaction time
Breaking the logic into functions like startRound() and checkWinner() makes the code easier to read and modify later.
Implementing the Game
Initial Setup
In the setup() function, initialize the pins and start serial communication for feedback:
void setup() {
  pinMode(2, INPUT);
  pinMode(3, OUTPUT);
  Serial.begin(9600);
}
This tells Arduino which pins are used for input and output and sets up the serial monitor to display game messages like reaction times or win/loss status.
Main Game Loop
The loop() function manages the game sequence: waiting, signaling, detecting input, and calculating results. It uses random() to create unpredictable delays before activating the signal LED:
int waitTime = random(2000, 5000);
delay(waitTime);
digitalWrite(3, HIGH); // Turn on LED
unsigned long startTime = millis();
Then, it waits for the button press. Once detected, it calculates the time difference and resets for the next round. Using millis() instead of delay() allows for more responsive code, especially in future enhancements.
Enhancing the Game
Once the basic game works, you can make it more engaging. Add a second button for two-player mode and determine the winner based on who pressed first. Introduce a scoring system that tracks wins across multiple rounds. You can also add an LCD screen to display scores or use a piezo buzzer to play sounds when the game starts or ends.
For extra challenge, implement difficulty levels with shorter average wait times or introduce false signals. These enhancements not only improve gameplay but also help you learn new components and programming techniques.
Testing and Debugging
Common Issues
One common problem is inconsistent button readings, often caused by switch bounce. To fix this, implement a debouncing technique by checking the button state twice with a short delay (e.g., 50ms) in between. Another issue is incorrect wiring—double-check that resistors are properly placed and connections are secure.
If the game behaves unexpectedly, use the Serial Monitor to print button states, timestamps, and game phases. This helps identify where the logic might be failing. For example, printing millis() values can show whether delays are working as intended.
Best Practices
Write clean, commented code to make debugging easier. Use meaningful variable names like playerOneButton instead of pin2. Test your circuit step by step—first verify button input, then LED output, then integrate them into the full game. This modular approach saves time and reduces frustration.
Always disconnect the Arduino from power when adjusting the breadboard. And remember, even experienced makers make mistakes—debugging is a normal and valuable part of the learning process.
Conclusion
Creating a simple game with Arduino and push buttons is a rewarding way to learn electronics and programming fundamentals. You’ve learned how to wire buttons, read inputs, write game logic, and enhance your project with interactive features. This hands-on experience builds confidence and opens the door to more complex projects like memory games, LED mazes, or even Arduino-based consoles.
Don’t stop here—experiment with new ideas, add more components, or challenge friends to beat your high score. Every project you build strengthens your skills and creativity. The world of DIY electronics is vast and welcoming, and you now have the tools to explore it one button press at a time.
FAQ Section
What if my push button doesn’t work?
First, check your wiring—ensure the button is properly inserted into the breadboard and connected to the correct pins. Verify that the pull-down resistor is in place and correctly sized (usually 10kΩ). Then, use the Serial Monitor to print the button state and confirm it changes when pressed. If the issue persists, try replacing the button or testing it with a simple LED toggle sketch.
Can I use other types of buttons?
Yes, most momentary push buttons—whether tactile, toggle, or arcade-style—work with Arduino as long as they fit your circuit design. Just ensure they operate at 5V logic levels and are wired correctly. Larger buttons may require mounting hardware but offer better tactile feedback for games.
How do I add sound to my game?
You can add sound using a piezo buzzer or a small speaker. Connect the buzzer to a digital pin and use tone() and noTone() functions to play specific frequencies. For example, play a short beep when the game starts or a victory tune when a player wins. This adds a fun audio layer to your gameplay.
What other simple games can I create with Arduino?
You can build a wide range of simple games, such as a memory game (like Simon Says) using colored LEDs and buttons, a dice roller with an LED display, or a reaction tester with multiple difficulty levels. As you advance, consider using LCDs, potentiometers, or sensors to create pong-style games or interactive quizzes.
Where can I find more tutorials on Arduino programming?
The official Arduino website offers extensive tutorials and code examples for beginners and advanced users. Platforms like Instructables, Adafruit Learning System, and SparkFun Tutorials provide project-based guides. YouTube channels like Paul McWhorter and GreatScott! also offer step-by-step video lessons that cover everything from basics to advanced topics.


