Table of Contents Show
Imagine a world where tiny, low-power devices like your Arduino can perform complex machine learning tasks right at the edge—without relying on cloud computing. Welcome to TinyML, a revolutionary approach that brings machine learning to microcontrollers. Whether you’re building smart sensors, gesture-controlled devices, or anomaly detection systems, TinyML on Arduino opens up endless possibilities. In this step-by-step tutorial, we’ll guide you through setting up your first TinyML project, from training a model to deploying it on an Arduino board. By the end, you’ll have a working example and the confidence to explore more advanced applications.
Understanding TinyML and Arduino
What is TinyML?
TinyML, or Tiny Machine Learning, refers to running machine learning models on low-power, resource-constrained devices like microcontrollers. Unlike traditional ML, which requires powerful CPUs or GPUs, TinyML optimizes models to fit in small memory footprints while maintaining efficiency. Key features include:
- Low power consumption, ideal for battery-operated devices
Common use cases include sensor data analysis, gesture recognition, and predictive maintenance.
Why Use Arduino for TinyML?
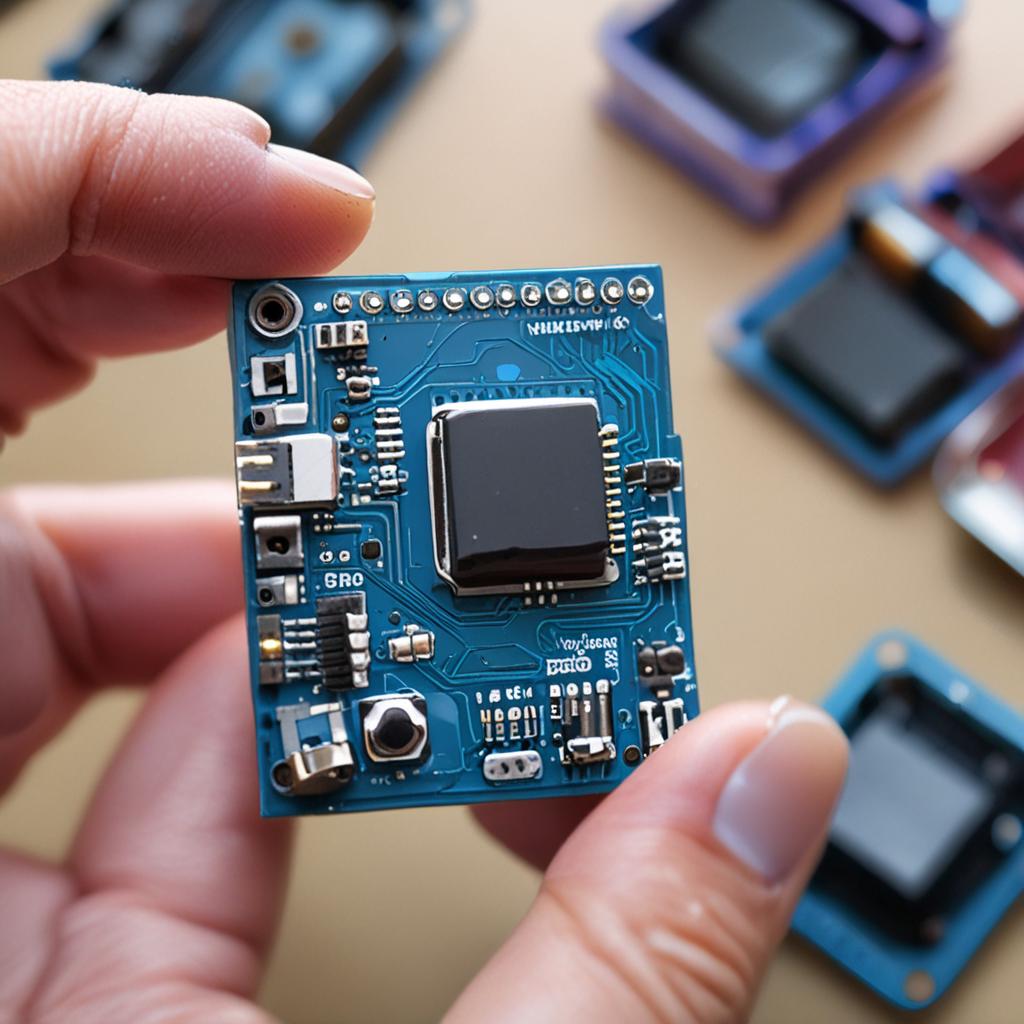
Arduino is a popular choice for TinyML due to its affordability, ease of use, and vibrant community support. While it lacks the processing power of larger systems, its energy efficiency makes it perfect for portable applications. The Arduino Nano 33 BLE Sense and Portenta H7 are among the best boards for TinyML, offering built-in sensors and sufficient memory for lightweight models.
However, be mindful of limitations like memory constraints, which may require model optimization techniques like quantization or pruning.
Setting Up Your Arduino for TinyML
Required Hardware
To get started, you’ll need:
- An Arduino-compatible board (e.g., Nano 33 BLE Sense)
For example, an IMU sensor like the MPU6050 is great for gesture recognition, while a microphone module can be used for sound classification.
Installing Necessary Software
Begin by installing the Arduino IDE and TinyML libraries. Key steps include:
- Download and install the Arduino IDE from the official website.
These tools will help you train, convert, and deploy your TinyML models.
Preparing Your TinyML Model
Choosing a Suitable Model
Select a model based on your project’s needs. Common options include:
- Classification models for gesture or sound recognition
Pre-trained models can save time, but custom models offer more flexibility. Optimize them using techniques like quantization (reducing precision) or pruning (removing unnecessary neurons).
Training Your Model (Using TensorFlow Lite)
Use TensorFlow Lite Micro to train your model. Steps include:
- Collect and preprocess data (e.g., sensor readings).
For example, train a simple neural network to classify gestures from IMU data.

Converting the Model for Arduino
Convert your trained model to TensorFlow Lite format (.tflite) using the TensorFlow Lite Converter. Then, integrate it into your Arduino sketch by:
- Including the model data in your sketch.
This step may require trial and error to balance model size and performance.
Deploying the Model on Arduino
Writing the Arduino Sketch
Create a sketch to load and run the model. Key components are:
- Sensor initialization (e.g., IMU setup).
For instance, a gesture recognition sketch might read IMU data, feed it to the model, and print the predicted gesture.
Testing and Debugging
Monitor sensor readings and model outputs using the Serial Monitor. Common issues include:
- Memory errors (reduce model size or optimize code).
Debugging often involves tweaking model parameters or adjusting sensor calibration.
Advanced TinyML Techniques on Arduino
Optimizing Model Performance
To improve efficiency, consider:
- Quantization: Reducing precision (e.g., float32 to int8).
These techniques can significantly reduce model size without sacrificing accuracy.
Real-World Applications
TinyML enables projects like:
- Gesture-controlled robots using IMU sensors.
While Arduino’s capabilities are limited compared to larger systems, creativity and optimization can yield impressive results.
Troubleshooting Common Issues
Here are solutions to frequent problems:

- Memory allocation errors: Use smaller models or external memory (e.g., SPI RAM).
Refer to Arduino forums and TinyML documentation for additional support.
Conclusion
TinyML on Arduino democratizes machine learning, enabling smart, low-power applications that run locally. By following this tutorial, you’ve learned how to prepare, train, and deploy a TinyML model—whether for gesture recognition, sound classification, or sensor analytics. As you explore further, consider experimenting with more complex models or integrating TinyML into IoT projects. The future of edge AI is here, and with Arduino, the possibilities are endless.
FAQs
1. What is the best Arduino board for TinyML projects?
The Arduino Nano 33 BLE Sense is ideal due to its onboard sensors and compatibility with TinyML libraries.
2. Can I use pre-trained models with TinyML on Arduino?
Yes, but they must be optimized for microcontrollers (TensorFlow Lite Micro models).
3. How do I reduce the size of a TinyML model for Arduino?
Techniques include quantization, pruning, and using smaller neural network architectures.
4. What sensors work best with TinyML on Arduino?
IMU sensors (MPU6050), microphones, and basic cameras are commonly used.

5. Can I deploy a TensorFlow model directly on Arduino?
No, you must convert it to TensorFlow Lite for Microcontrollers format first.


