Table of Contents Show
Infrared (IR) sensors are versatile tools that have found their way into numerous applications, from remote controls to proximity sensing. These sensors work by emitting and detecting infrared light, allowing them to sense the presence or absence of objects within their range. In this blog post, we will delve into how to use an IR sensor with an Arduino to detect black and white surfaces. By the end of this guide, you will have a solid understanding of how to set up the hardware, write the necessary code, and calibrate your sensor for accurate surface detection. This knowledge will be invaluable for projects such as line-following robots or basic object detection.
Step-by-Step Process
Wire the IR Sensor
Connect the IR sensor to the Arduino using VCC, GND, and signal pins.
Initialize the Sensor
Set up the Arduino code to read data from the IR sensor.
Calibrate the Sensor
Measure and record baseline values for black and white surfaces.
Implement Detection Logic
Write code to compare sensor readings to baseline values.
Test the Detection
Place the sensor over surfaces and verify accurate detection.
Process infographic for Ir Sensor with Arduino – How to Detect Black and White Surfaces
Basics of IR Sensors
An IR sensor operates by emitting infrared light and detecting the reflections. When the emitted light hits an object, it bounces back to the sensor, which then interprets the reflected signal. This principle allows IR sensors to detect the presence and distance of objects. There are several types of IR sensors, including reflective sensors, which measure the reflection of IR light, and proximity sensors, which detect the presence of objects within a specific range. The key components of an IR sensor typically include an IR LED for emitting light, a photodiode or phototransistor for detecting reflected light, and an amplifier circuit to process the signal.
Why Use IR Sensors with Arduino?
IR sensors are particularly useful for surface detection due to their simplicity and cost-effectiveness. They provide a reliable method for distinguishing between different surfaces, such as black and white. Using an IR sensor with Arduino offers several advantages, including ease of integration, extensive community support, and the ability to customize code for specific applications. Common applications include line-following robots, where the sensor detects a black line on a white surface, and basic object detection systems.
Setting Up the Hardware
Required Components
To get started, you will need the following components:
- An Arduino board (e.g., Arduino Uno)
- An IR sensor module (e.g., TCRT5000L)
- A breadboard
- Jumper wires
- A power supply (e.g., USB cable or external power adapter)
These components can be sourced from various online retailers or electronics stores.
Wiring the IR Sensor to Arduino
Connecting the IR sensor to the Arduino is straightforward. Follow these steps:
- Connect the VCC pin of the IR sensor to the 5V pin on the Arduino.
- Connect the GND pin of the IR sensor to the GND pin on the Arduino.
- Connect the OUT pin of the IR sensor to a digital pin on the Arduino (e.g., pin 2).
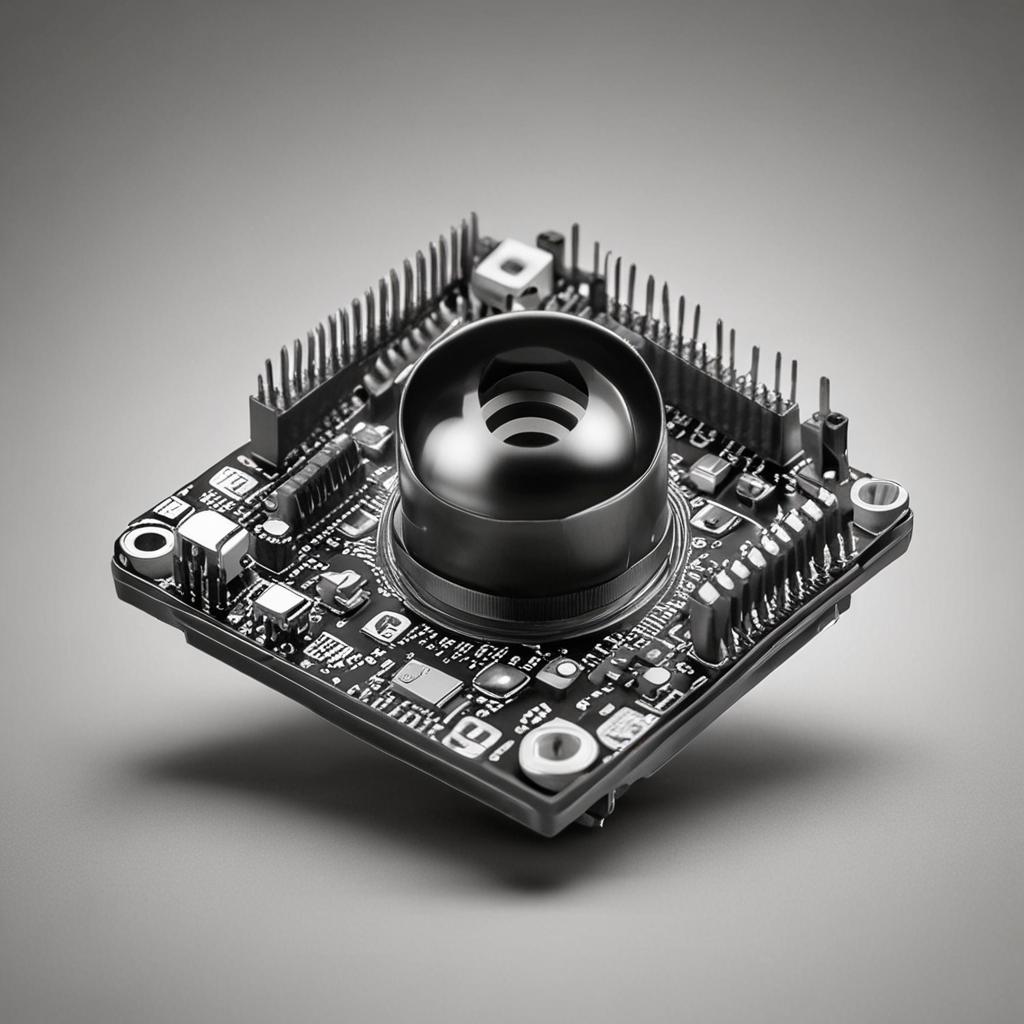
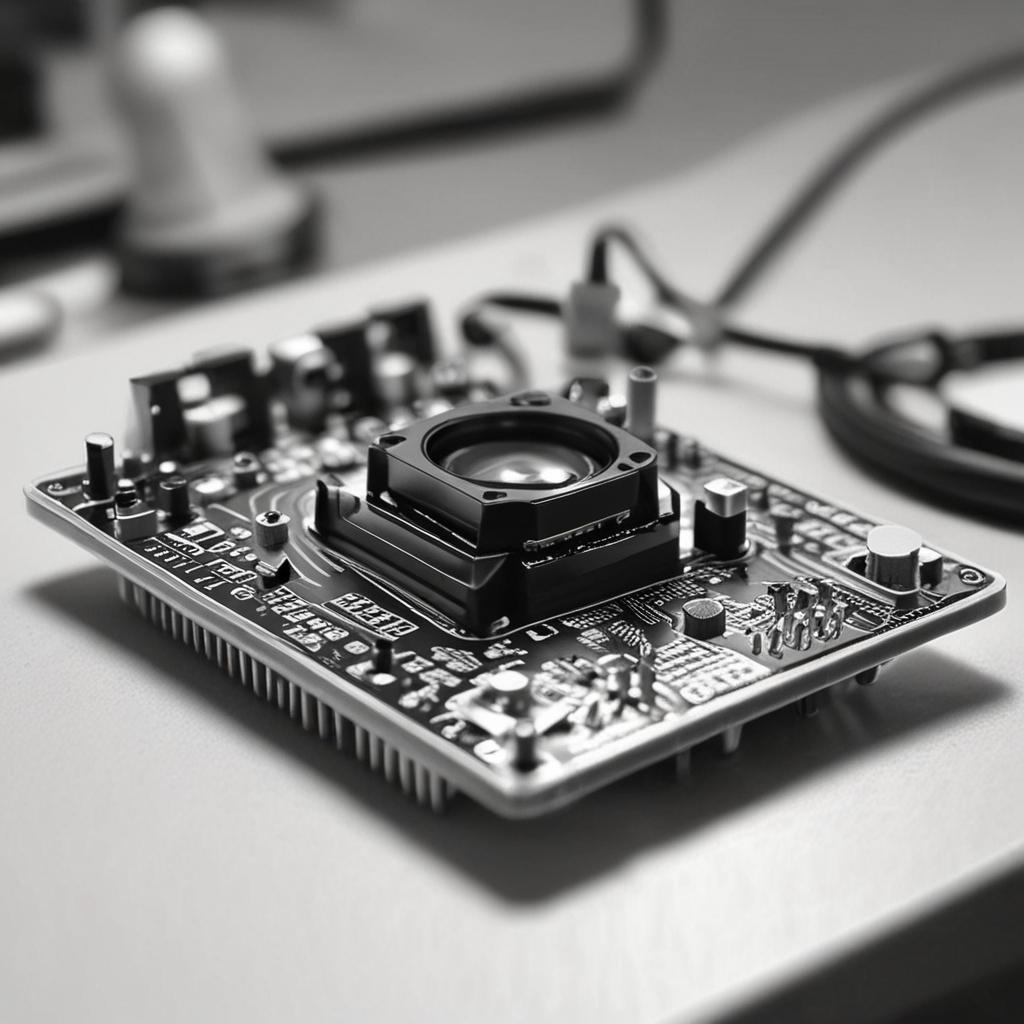
Refer to the image below for a visual guide to the wiring setup.
Powering the Circuit
Ensuring proper power supply is crucial for the reliable operation of your IR sensor and Arduino. Connect the Arduino to a stable power source, such as a USB cable or an external power adapter. Verify that the IR sensor is receiving the correct voltage (5V) by using a multimeter. Common power issues include insufficient voltage or loose connections, which can be resolved by checking the wiring and ensuring all connections are secure.
Programming the Arduino
Installing Necessary Libraries
For this project, you may need to install specific libraries to simplify the coding process. The IRremote library, for example, can be useful for handling IR signals. To install a library in the Arduino IDE, go to Sketch > Include Library > Manage Libraries, search for the library, and click Install. Import the necessary library at the beginning of your code using the #include directive.
Writing the Code
The code structure for reading an IR sensor is relatively simple. Here is an example of how to write the code:
#include <Arduino.h>const int irSensorPin = 2; // Pin connected to the OUT pin of the IR sensor
void setup() { Serial.begin(9600); // Initialize serial communication pinMode(irSensorPin, INPUT); // Set the IR sensor pin as an input }
void loop() {
    int sensorValue = digitalRead(irSensorPin);  // Read the sensor value
    Serial.println(sensorValue);  // Print the sensor value to the serial monitor
    delay(100);  // Small delay for readability
}
The setup() function initializes the serial communication and sets the IR sensor pin as an input. The loop() function reads the sensor value and prints it to the serial monitor. The sensor value will be 0 when it detects a black surface and 1 when it detects a white surface.
Calibrating the IR Sensor
Calibration is essential for accurate detection. Place the IR sensor over a black surface and note the sensor reading. Then, place it over a white surface and note the reading. Adjust the threshold value in your code to differentiate between the two readings. For example, if the sensor reads 0 for black and 1 for white, set the threshold accordingly.
Testing and Troubleshooting
Running the Code
Once the code is written, upload it to the Arduino using the Arduino IDE. Open the Serial Monitor to observe the sensor readings. Initially, test the sensor over different surfaces to ensure it detects black and white accurately. If the sensor does not respond as expected, proceed to the troubleshooting steps.
Debugging Common Issues
Common issues include incorrect sensor readings or the sensor not responding at all. Check the wiring connections and ensure the power supply is stable. Verify that the code is correctly uploaded to the Arduino. If the sensor readings are inconsistent, try adjusting the sensitivity by changing the threshold value in the code. For improved accuracy, ensure the sensor is positioned correctly and the surfaces are clean.
Practical Applications
Line-Following Robot
A line-following robot uses an IR sensor to detect a black line on a white surface. The sensor reads the line and guides the robot along the path. To build a line-following robot, mount the IR sensor on the robot’s chassis, connect it to the Arduino, and write code to interpret the sensor data and control the motors accordingly. Example code and hardware setup can be found in various online tutorials and forums.

Object Detection
IR sensors can also be used for basic object detection. By detecting the presence of an object within its range, the sensor can trigger an action, such as turning on a light or sounding an alarm. Potential use cases include security systems, automated doors, and smart home devices. Modifications to the code and hardware setup may be required to adapt the sensor for specific applications.
FAQ Section
How does an IR sensor differentiate between black and white surfaces?
An IR sensor differentiates between black and white surfaces based on the amount of infrared light reflected. Black surfaces absorb more light and reflect less, resulting in a lower sensor reading. White surfaces reflect more light, resulting in a higher sensor reading. By setting a threshold value, the sensor can distinguish between the two surfaces.
What is the range of an IR sensor?
The range of an IR sensor typically varies from a few centimeters to a meter, depending on the specific model and environmental conditions. Factors affecting the range include the power of the IR LED, the sensitivity of the photodiode, and the presence of ambient light. Always refer to the sensor’s datasheet for precise range information.
Can an IR sensor be used outdoors?
Using an IR sensor outdoors can be challenging due to variations in ambient light and weather conditions. Direct sunlight can interfere with the sensor’s readings, and moisture can affect its performance. Consider using additional shielding or housing to protect the sensor and ensure reliable operation in outdoor environments.
How do I adjust the sensitivity of the IR sensor?
To adjust the sensitivity of the IR sensor, modify the threshold value in your code. A lower threshold value will make the sensor more sensitive to detecting black surfaces, while a higher value will make it more sensitive to detecting white surfaces. Experiment with different threshold values to find the optimal setting for your application.
What are some alternative sensors for surface detection?
Alternative sensors for surface detection include color sensors, which can detect a wider range of colors, and ultrasonic sensors, which use sound waves to detect objects. Color sensors are useful for applications requiring precise color differentiation, while ultrasonic sensors are ideal for detecting objects at varying distances. Each sensor has its advantages and limitations, so choose the one that best suits your specific needs.
Conclusion
In this blog post, we explored how to use an IR sensor with Arduino to detect black and white surfaces. We covered the basics of IR sensors, set up the hardware, wrote the necessary code, and calibrated the sensor for accurate detection. Whether you are building a line-following robot or a basic object detection system, the knowledge gained here will be invaluable. We encourage you to experiment with different applications and share your projects with the community. For further learning and support, refer to the Arduino documentation and online forums. Happy tinkering!


