Table of Contents Show
Smart energy meters are revolutionizing how we understand and manage our electricity consumption. These intelligent devices provide real-time data, enabling us to identify energy-wasting habits, reduce our carbon footprint, and ultimately lower our utility bills. The rise of the Internet of Things (IoT) has made it easier than ever to build your own smart energy meter using readily available components like the ESP32 and the Blynk app. This DIY guide will walk you through the process, empowering you to take control of your energy usage.
Historical Timeline
2018
Initial development of ESP32 for IoT applications.
2020
Blynk App launches support for ESP32 integration.
2022
First DIY guides for smart energy meters using ESP32.
2024
Community-driven improvements and tutorials released.
2026
Advanced features and security updates implemented.
Timeline infographic for Smart Energy Meter Using Esp32 and Blynk App – Diy Guide
Introduction to Smart Energy Meters
Smart energy meters are advanced devices that measure electricity consumption and provide real-time data to both the consumer and the utility company. They replace traditional analog meters, offering detailed insights into energy usage patterns. This data enables consumers to monitor their electricity consumption in real-time, identify areas of wastage, and make informed decisions to reduce their energy consumption and lower their utility bills. The integration of IoT technology allows these meters to transmit data wirelessly, making it accessible through mobile apps and online dashboards. The ESP32 and Blynk app provide an accessible and affordable platform for DIY enthusiasts to build their own smart energy monitoring system.

Why Build a DIY Smart Energy Meter?
Building your own smart energy meter offers numerous advantages over purchasing a commercial one. Firstly, it’s often more cost-effective, as you can source components individually and avoid the markups associated with pre-built devices. Secondly, a DIY meter allows for complete customization to meet your specific needs and preferences. This project also provides an excellent learning opportunity for electronics and IoT hobbyists, allowing you to gain hands-on experience with microcontrollers, sensors, and cloud platforms. Finally, you can seamlessly integrate your DIY meter with existing home automation systems, creating a truly smart and connected home.
Components Required for the Project
To build your smart energy meter, you’ll need the following hardware and software components:
- ESP32 development board
- Current sensor (e.g., ACS712 or SCT-013-000)
- Voltage sensing circuit (using resistive divider)
- OLED display (optional)
- Jumper wires, breadboard, or PCB
- Blynk app and account
- Smartphone and Wi-Fi network
Safety Warning: Working with mains voltage can be dangerous. Always take necessary precautions to avoid electric shock. If you are not comfortable working with high voltage, seek assistance from a qualified electrician. Ensure all high voltage parts are properly insulated and enclosed.
How a Smart Energy Meter Works
The smart energy meter works by measuring the current and voltage of the electricity flowing through your circuit. The current sensor detects the current flowing through a wire, while the voltage sensing circuit measures the voltage across the circuit. Using these measurements, the ESP32 calculates the power (P = V × I) and energy consumption (kWh). This data is then sent to the Blynk cloud via Wi-Fi, where it can be displayed on a user-friendly dashboard. The block diagram below illustrates the basic components and their interactions.
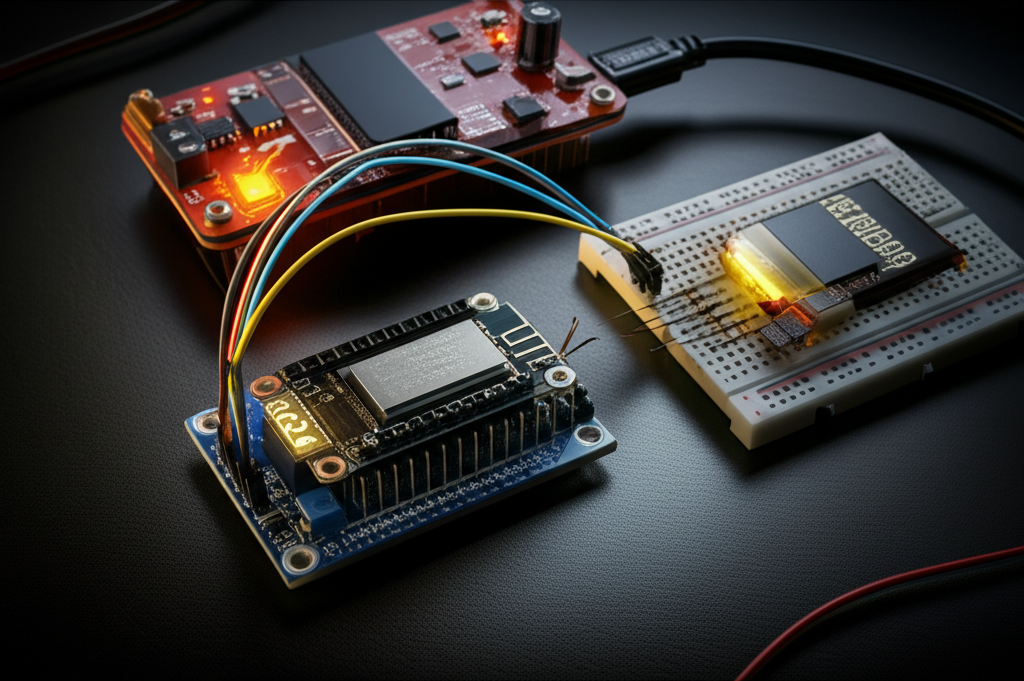
Step-by-Step Hardware Setup
Connecting the Current Sensor to ESP32
The current sensor, such as the ACS712, needs to be connected to the ESP32’s analog input pin. The sensor outputs a voltage proportional to the current flowing through it. Refer to the sensor’s datasheet for the specific wiring diagram. Remember to calibrate the sensor by comparing its readings with a known current source to ensure accuracy. Handle the sensor carefully to avoid damage from electrostatic discharge (ESD).
Building the Voltage Sensing Circuit
Creating a safe resistive voltage divider is crucial for stepping down the AC mains voltage to a level that the ESP32 (3.3V max) can safely read. Use high-value resistors (e.g., 1MΩ and 10kΩ) to minimize current flow and power dissipation. Ensure the resistors are rated for high voltage. Properly insulate the circuit to prevent accidental contact with live wires. For beginners, it’s highly recommended to use pre-built AC voltage sensors for safety.
Integrating ESP32 with Wi-Fi and Blynk
The ESP32 connects to your home Wi-Fi network to communicate with the Blynk cloud server. Use the Arduino IDE to program the ESP32 with your Wi-Fi credentials and Blynk authentication token. A stable internet connection is essential for real-time data updates. Ensure your Wi-Fi network has adequate coverage in the location where the energy meter is installed.
Optional: Adding an OLED Display
Adding an OLED display allows you to view local readings (power, voltage, current) without relying on a smartphone. Connect the OLED display to the ESP32 using the I2C interface. Install the necessary OLED library in the Arduino IDE. Program the ESP32 to display the sensor readings on the OLED screen, providing a convenient local monitoring solution.
Setting Up the Blynk App
Creating a Blynk Account and New Project
Download the Blynk app from your smartphone’s app store and sign up for a new account. Create a new project in the Blynk app, selecting ESP32 as the device type. The app will generate an authentication token, which you’ll need to include in your ESP32 code.
Designing the Dashboard
The Blynk dashboard is where you’ll visualize your energy data. Add widgets such as:
- Value Display: for real-time voltage, current, and power readings.
- Chart: for visualizing energy usage over time.
- LED: for status indication (e.g., online/offline).
- History Graph: for viewing daily or monthly energy consumption trends.
Organize the dashboard logically for easy readability. Customize the widget names and units to match your preferences.
Programming the ESP32 – Code Walkthrough
Installing Required Libraries
Before uploading the code to your ESP32, you’ll need to install the necessary libraries in the Arduino IDE:
- Blynk: for connecting to the Blynk cloud.
- ESP32 ADC: for reading analog values from the sensors.
- Sensor-specific libraries: e.g., ACS712 library (if using).
Use the Arduino IDE’s Library Manager to easily install these libraries.
Uploading the Code
The code structure involves:
- Wi-Fi and Blynk authentication: Connecting the ESP32 to your Wi-Fi network and authenticating with the Blynk cloud.
- Reading analog values from sensors: Reading the raw data from the current and voltage sensors.
- Converting raw data to voltage, current, and power: Converting the raw sensor data into meaningful electrical values.
- Calculating energy (kWh) using time integration: Calculating the energy consumption over time.
- Sending data to Blynk widgets: Sending the calculated data to the Blynk app for visualization.
- Optional: Displaying on OLED: If you have an OLED display, the code will also display the data on the screen.
Full code example: GitHub Gist
Calibration Tips
Calibrating your sensor readings is crucial for accuracy. Use a known load, such as a 100W bulb, to compare the sensor readings with the expected values. Adjust the code to compensate for any discrepancies. Check the grounding of your circuit to minimize noise and improve accuracy. Repeat the calibration process periodically to maintain accuracy over time.
Safety Considerations and Best Practices
Electrical safety is paramount when working with mains voltage. Never expose live wires. Always use insulated tools. Enclose all high-voltage parts in a protective casing. Avoid direct contact with mains electricity. Use AC/DC isolation where possible. If you are a beginner, consider using pre-built AC voltage sensors for added safety.
Testing and Troubleshooting
Common issues and solutions:
- ESP32 not connecting to Wi-Fi: Check your Wi-Fi credentials and ensure your network is working properly.
- Blynk not receiving data: Verify your Blynk authentication token and check your internet connection.
- Inaccurate readings: Calibrate your sensor readings and check the grounding of your circuit.
- Sensor overheating: Check the wiring and ensure the sensor is not overloaded.
- App crashes: Reinstall the Blynk app or check for updates.
Use the Serial Monitor in the Arduino IDE for debugging. This will help you identify any errors in your code or hardware setup.
Advanced Features and Future Upgrades
Enhance your project with these advanced features:
- Data logging to SD card or cloud (e.g., ThingSpeak): Store your energy data for long-term analysis.
- Email/SMS alerts for high consumption: Receive notifications when your energy consumption exceeds a certain threshold.
- Integration with home automation (e.g., turning off devices): Automatically turn off devices when they are not in use.
- Multi-phase monitoring: Monitor the energy consumption of multiple phases in your electrical system.
- Solar energy monitoring add-on: Integrate solar panel data to track your renewable energy generation.
Conclusion – Empower Your Energy Monitoring
Building a smart energy meter with ESP32 and Blynk is a rewarding project that empowers you to take control of your energy consumption. By monitoring your energy usage in real-time, you can identify areas of wastage, reduce your environmental impact, and save money on your utility bills. This project also provides valuable hands-on experience with IoT technologies, enhancing your technical skills. Feel free to customize and expand this project to meet your specific needs and explore the endless possibilities of smart home automation.
Frequently Asked Questions (FAQ)
Can I use this smart meter with high-voltage AC appliances?
Yes, but only with proper voltage sensing circuits and safety enclosures. It’s recommended to use isolated sensors and consult an electrician if you are unsure about working with high voltage.
Is the Blynk app free to use?
Blynk offers a free tier with limited widgets and one active device. For advanced features, such as multiple devices and longer data history, a paid plan is required.
How accurate is this DIY energy meter?
Accuracy depends on the quality of the sensors and the calibration process. It’s suitable for relative monitoring and trend analysis, but not as precise as certified commercial meters.
Can I monitor multiple devices with one ESP32?
Yes, by using multiple current sensors. This requires additional analog pins or a multiplexer. The Blynk dashboard can display the data from each sensor separately.
Do I need internet for the meter to work?
Internet is required for communication with the Blynk cloud and remote monitoring. The local display (OLED) can work offline, but real-time app updates need Wi-Fi.


