Table of Contents Show
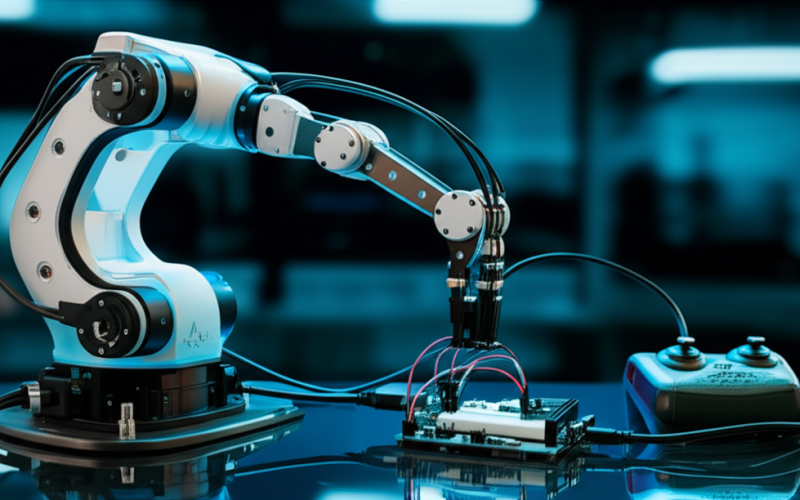
In today’s rapidly evolving world, robotics and automation have become essential tools for innovation and efficiency. Whether you’re a hobbyist, student, or professional, building a smart robot arm controlled with Arduino and a joystick is an exciting project that combines creativity and technical skills. This project not only introduces you to the fundamentals of robotics but also provides a hands-on experience with Arduino programming and hardware integration. By the end of this guide, you’ll have a fully functional robot arm that responds to joystick inputs, ready to tackle tasks like picking, placing, or even drawing. Let’s dive into the world of smart robotics and explore how to bring this project to life!
Historical Timeline
2015
First Arduino-based robotic arm prototypes emerge with basic joystick control.
2018
Open-source libraries for Arduino and joystick integration improve functionality.
2020
Commercial kits for DIY smart robot arms with Arduino and joystick control launch.
2023
Advanced models incorporate AI for autonomous adjustments alongside joystick control.
2025
Wireless and voice-controlled enhancements become mainstream for Arduino robot arms.
Timeline infographic for Smart Robot Arm Controlled with Arduino and Joystick

Components and Materials Needed
Hardware Components
To build a smart robot arm, you’ll need the following hardware components:
- Arduino Board (e.g., Arduino Uno): The brain of the project that processes inputs and controls the robot arm.
Software Components
On the software side, you’ll need:
- Arduino IDE: The development environment for writing and uploading code to the Arduino board.
Setting Up the Hardware
Assembling the Robot Arm
Begin by assembling the robot arm structure according to the kit’s instructions. If you’re using individual components, attach the servo motors to the arm’s joints, ensuring they are securely connected. Once assembled, mount the robot arm on a stable surface. Use jumper wires to connect the servo motors to the Arduino board, ensuring each motor is connected to a PWM pin for precise control.

Connecting the Joystick Module
The joystick module typically has five pins: VCC, GND, VRx, VRy, and SW. Connect VCC and GND to the Arduino’s power and ground pins, respectively. Connect VRx and VRy to analog input pins on the Arduino to read the joystick’s position. If your joystick has a button (SW), connect it to a digital pin. This setup allows the Arduino to interpret joystick movements and translate them into commands for the robot arm.
Programming the Arduino Board
Installing the Servo Motor Library
Open the Arduino IDE and install the Servo motor library from the Library Manager. This library provides functions to control servo motors with minimal code, making it easier to manage the robot arm’s movements. Once installed, include the library in your sketch using the #include <Servo.h> command.
Writing the Control Code
Write a program that reads the joystick’s analog inputs and maps them to the servo motors’ angles. For example, moving the joystick left or right could control one servo, while up and down movements control another. Use the Servo.write() function to set the servo positions based on the joystick’s input. Ensure your code includes smooth transitions to avoid abrupt movements.

Calibrating the Robot Arm
After uploading the code, calibrate the servo motors to ensure the robot arm moves as expected. Adjust the code to set the minimum and maximum angles for each servo, preventing over-rotation or strain on the motors. Test the joystick’s responsiveness and fine-tune the code for optimal performance.
Testing and Troubleshooting
Once everything is set up, test the robot arm’s movements using the joystick. If the arm doesn’t move correctly, double-check the wiring and ensure the servo motors are properly connected. If the joystick module isn’t responding, verify the analog input readings in the Arduino IDE. For servo calibration issues, revisit the code and adjust the angle limits as needed. With patience and careful testing, you’ll have a fully functional robot arm in no time!
Conclusion
Building a smart robot arm controlled with Arduino and a joystick is a rewarding project that combines hardware assembly, programming, and problem-solving skills. This project not only demonstrates the potential of robotics but also encourages creativity and experimentation. Once you’ve mastered the basics, consider expanding the robot arm’s capabilities by adding more degrees of freedom, integrating sensors, or even automating specific tasks. The possibilities are endless, and this project is just the beginning of your journey into the fascinating world of robotics!
Frequently Asked Questions (FAQs)
- What is the maximum weight that the robot arm can lift?
The maximum weight depends on the servo motors used and the robot arm’s structure.
Yes, but ensure that the joystick module is compatible with the Arduino board and adjust the code accordingly.
By adding more servo motors and modifying the robot arm’s structure and code.
While this project is a great starting point, industrial automation requires more advanced and robust solutions.


