Table of Contents Show
Smart gardening has become increasingly popular, thanks to the integration of technology that helps automate and optimize plant care. By monitoring soil moisture levels, you can ensure your plants receive the right amount of water, conserving resources and promoting healthier growth. In this blog post, we’ll guide you through building a soil moisture monitoring system using an Arduino and a soil moisture sensor. This project is cost-effective, beginner-friendly, and eco-conscious, making it an excellent addition to any garden.
Step-by-Step Process
Gather Components
Collect Arduino board, soil moisture sensor, jumper wires, breadboard.
Wire the Components
Connect sensor to Arduino using breadboard and jumper wires.
Upload Sensor Code
Write and upload Arduino code to read sensor data.
Test Sensor Output
Monitor serial output to verify sensor readings.
Integrate with Garden
Place sensor in soil and automate garden watering system.
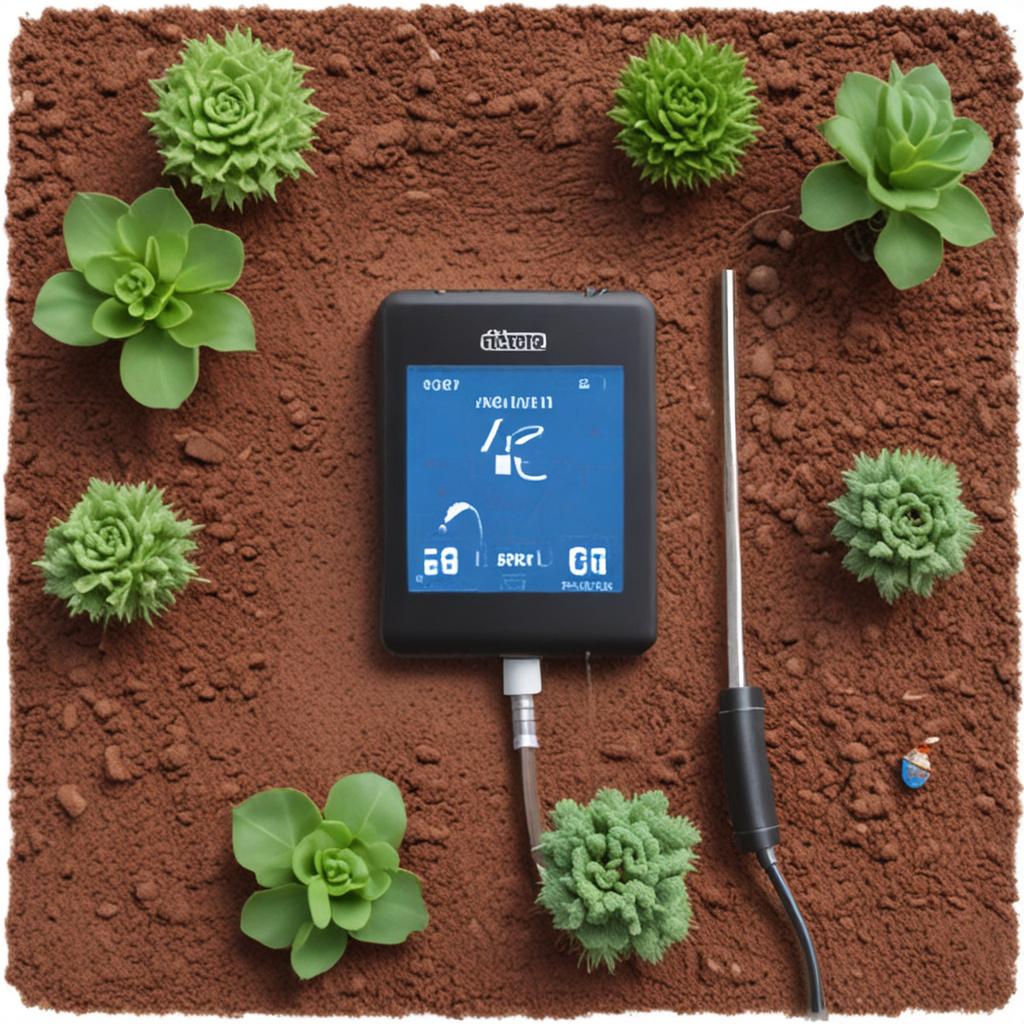
Process infographic for Soil Moisture Sensor with Arduino – Smart Garden Project
Soil Moisture Sensor with Arduino – Build a Smart Garden Monitoring System
Introduction
Smart gardening leverages automation to ensure that plants receive the optimal amount of water and care, reducing the need for constant manual intervention. Proper soil moisture is crucial for plant health, and maintaining the right levels can significantly improve growth and yield. By building a soil moisture monitoring system with an Arduino, you can automate this process, saving time and water, and ensuring your garden thrives. This guide will walk you through the steps to create your own smart garden system, helping you achieve sustainable and efficient gardening practices.
Why Monitor Soil Moisture in a Smart Garden?
Proper soil moisture is essential for plant growth. Too much water can lead to root rot and other diseases, while too little can cause wilting and stunted growth. Automated soil moisture monitoring helps maintain the ideal balance, improving plant health and reducing the need for constant manual checks. This system not only improves plant growth but also promotes water conservation. By ensuring that plants receive only the water they need, you can significantly reduce water wastage and contribute to sustainable gardening practices.
Components Needed for the Project
To build your soil moisture monitoring system, you’ll need the following components:
- An Arduino Uno or compatible board
- A soil moisture sensor (capacitive or resistive type)
- A breadboard and jumper wires
- An LCD display or LED indicators (optional)
- A water pump (for automated irrigation, optional)
- A relay module (if using a pump)
- A resistor (if using an analog sensor with a pull-up)
These components can be found at most electronics stores or online retailers like Amazon and Aliexpress. When choosing components, ensure they are compatible with your Arduino board and suitable for outdoor use if needed.
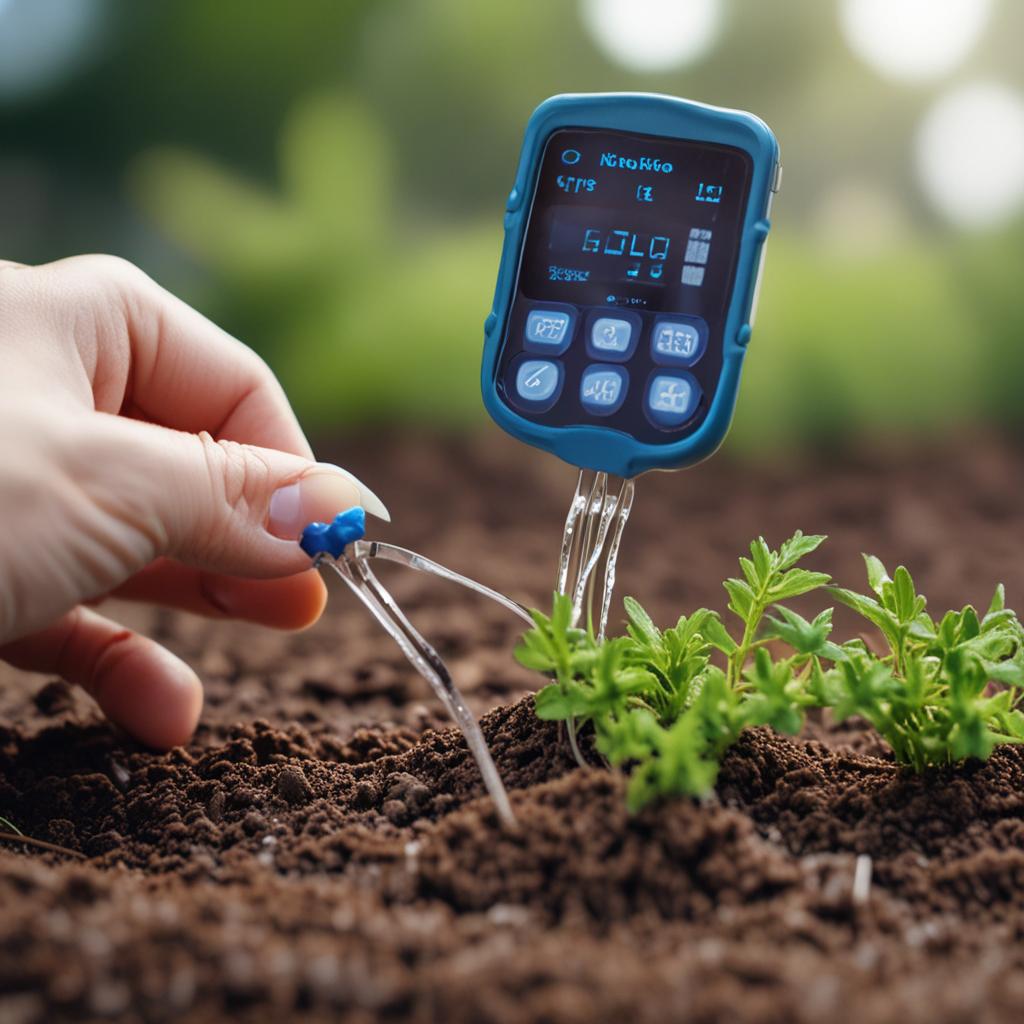
How Soil Moisture Sensors Work
Soil moisture sensors work by measuring the electrical conductivity or capacitance of the soil, which changes based on moisture levels. There are two main types: resistive and capacitive sensors. Resistive sensors measure the resistance between two probes, while capacitive sensors measure the change in capacitance caused by moisture. Analog sensors provide continuous output, whereas digital sensors offer a simple on/off signal.
Capacitive sensors are generally more durable and less prone to corrosion, making them ideal for long-term use. They are also less affected by soil salinity and mineral content, providing more accurate readings over time. For this project, a capacitive analog sensor is recommended.
Step-by-Step Assembly Guide
Wiring the Soil Moisture Sensor to Arduino
Follow these steps to wire your soil moisture sensor to the Arduino:
Connect the VCC pin of the sensor to the 5V pin on the Arduino.
Connect the GND pin of the sensor to the GND pin on the Arduino.
Connect the AO (analog output) pin of the sensor to an analog pin on the Arduino (e.g., A0).
If using a digital output, connect the DO (digital output) pin to a digital pin on the Arduino.
A simple circuit diagram can be found online to help visualize these connections.
Connecting Optional Components (LCD, LED, Pump)
To display moisture levels, you can connect an LCD screen. Using an I2C LCD reduces the number of wires needed. Connect the SDA and SCL pins of the LCD to the corresponding pins on the Arduino. To indicate when the soil is dry, connect an LED to a digital pin with a resistor in series.
For automated irrigation, connect a relay module to control a water pump. The relay should be connected to a digital pin on the Arduino, allowing it to trigger the pump based on moisture levels.
Writing the Arduino Code
Here’s a basic Arduino sketch to get you started:
Code:
void setup() {

Serial.begin(9600);

pinMode(A0, INPUT);

}
void loop() {
int sensorValue = analogRead(A0);
int moisturePercentage = map(sensorValue, 0, 1023, 0, 100);
Serial.print(“Moisture Level: “);
Serial.print(moisturePercentage);
Serial.println(“%”);
if (moisturePercentage < 30) { Serial.println(“Water Needed”); }
delay(1000);
}
Understanding the Code Structure
The setup function initializes serial communication and sets the sensor pin as an input. The loop function reads the analog value from the sensor, maps it to a percentage, and prints it to the Serial Monitor. If the moisture level falls below a certain threshold (e.g., 30%), it triggers a “Water Needed” alert.
Upgrading the Code for Automation
To automate watering, add code to control an LED or relay based on moisture levels. For example, you can activate the pump for a set duration when the soil is too dry. Ensure you include safety considerations, such as limiting the pump’s runtime to prevent overwatering.
Calibrating Your Soil Moisture Sensor
Calibration is essential because sensor values can vary based on soil type and probe condition. Follow these steps to calibrate your sensor:
Record the sensor value in completely dry soil.
Record the sensor value in fully saturated soil.
Use the `map()` function to convert raw sensor values to a 0–100% moisture range.
Testing and Troubleshooting
Test your system in real soil conditions to ensure accurate readings. Common issues include fluctuating readings, corroded probes, and false triggers. To address these, check wiring connections, use capacitive sensors, and add averaging or delay in your code. Regular maintenance and calibration will help maintain stable performance.
Expanding Your Smart Garden System
Consider these upgrades to enhance your smart garden system:
- Add temperature and humidity sensors (e.g., DHT22) for more comprehensive monitoring.
- Integrate with IoT platforms like Blynk or ThingSpeak for remote monitoring.
- Use solar power for outdoor deployment.
- Create a mobile alert system via Bluetooth or Wi-Fi using an ESP32.Real-World Applications and Benefits
This soil moisture monitoring system can be used in home gardens, greenhouses, and urban farming. It promotes water savings, improves crop yield, and reduces maintenance. Additionally, it offers an educational opportunity for students and hobbyists interested in electronics and gardening. By automating plant care, you can achieve sustainable and efficient gardening practices.
Conclusion

Building a soil moisture sensor with Arduino is a rewarding project that enhances your gardening experience. This system promotes water conservation, improves plant health, and reduces the need for manual intervention. We encourage you to customize and expand your project, exploring the various possibilities that smart gardening offers. Share your builds and experiences with the community, and try advanced versions to take your smart garden to the next level.
Frequently Asked Questions (FAQ)
Can I leave the soil moisture sensor in the soil all the time?
Yes, but resistive sensors may corrode over time. Capacitive sensors are more durable and suitable for permanent installation.
How accurate are Arduino soil moisture sensors?
Accuracy varies. Capacitive sensors are more reliable and less prone to corrosion. Calibration improves accuracy.
Can I automate watering with this setup?
Yes. Add a relay and water pump controlled by Arduino based on moisture thresholds. Ensure a safe electrical setup.
What’s the difference between analog and digital soil moisture sensors?
Analog sensors provide variable voltage output, allowing for precise readings. Digital sensors offer a simple on/off signal. Analog sensors are preferred for monitoring.
Can I monitor multiple plants with one Arduino?
Yes. Use multiple sensors connected to different analog pins. Adjust the code to read each sensor sequentially.