Table of Contents Show
Imagine controlling your smart home devices or lighting systems with just a clap of your hands. With the power of machine learning and Arduino, this is not only possible but also surprisingly accessible. This guide will walk you through the process of training your Arduino to recognize claps using machine learning, opening up a world of voice-controlled applications and smart automation. Whether you’re a hobbyist or a developer, this project is a great way to explore embedded machine learning with minimal hardware: an Arduino board, a microphone, and some basic software tools like TensorFlow Lite and the Arduino IDE.
What is Machine Learning for Embedded Systems?
Machine learning on embedded systems involves running ML models directly on microcontrollers like Arduino, enabling them to make intelligent decisions without relying on external computing resources. TensorFlow Lite for Microcontrollers is a lightweight framework designed specifically for this purpose, allowing you to deploy models on devices with limited memory and processing power.
Why Use Clap Recognition?
Clap recognition is a simple yet effective way to interact with devices hands-free. It can be used for applications like smart lighting, voice-controlled gadgets, and robotics. Unlike traditional sound detection methods, ML-based clap recognition offers better accuracy and adaptability to different environments.
Hardware and Software Requirements
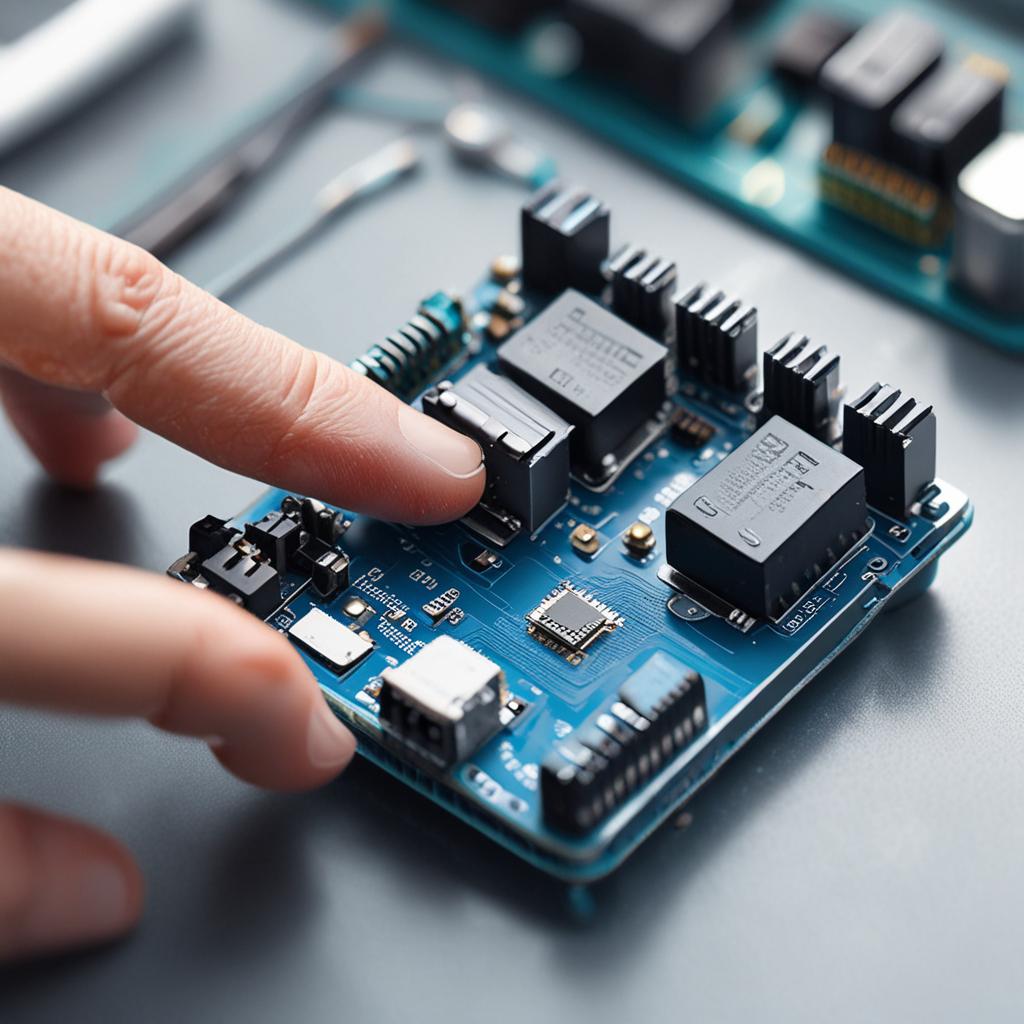
Required Components
- Arduino board (Uno, Nano, etc.)
- Microphone module (e.g., MAX9814, INMP441)
- Breadboard & jumper wires (for prototyping)
- Optional: LED or buzzer for feedback
Software Tools Needed
- Arduino IDE for code upload
- TensorFlow Lite Micro for model deployment
- Python (for training the ML model)
Building the Clap Detection System
Setting Up the Microphone
Start by connecting the microphone module to your Arduino’s analog input pin. Use basic sound amplification and filtering techniques to ensure clean audio signals, which are crucial for accurate detection.

Collecting Audio Data
Record clap samples in various environments and at different volumes to create a robust dataset. Store this data in CSV format, which will be used to train your machine learning model.

Training the Machine Learning Model
Using Python libraries like TensorFlow and NumPy, train a simple neural network to classify clap sounds. Once trained, export the model in TensorFlow Lite format for deployment on the Arduino.
Essential Checklist
Goal Definition
Clearly define objectives and success metrics
Resource Planning
Allocate necessary time, budget, and personnel
Implementation Strategy
Develop step-by-step execution plan
Quality Assurance
Establish testing and validation procedures
Performance Monitoring
Set up tracking and reporting systems
Essential items for Train Your Arduino to Recognize Claps Using Machine Learning
Deploying the ML Model on Arduino
Converting the Model for Arduino
Convert the TensorFlow model into a C++ library compatible with Arduino. Integrate TensorFlow Lite Micro into your Arduino project to enable on-device inference.
Writing the Arduino Sketch
Set up the microphone input in your Arduino sketch and use the model to classify incoming audio as a clap or non-clap. Add functionality to trigger an LED or buzzer when a clap is detected.

Testing and Improving the Model
Evaluating Accuracy
Test the model with different clap patterns and background noises to evaluate its accuracy. Adjust the sensitivity and thresholds to minimize false positives and improve performance.
Optimizing for Performance
Optimize the model for real-time response by reducing noise interference and fine-tuning the neural network. This ensures that your system is both fast and reliable.
Advanced Applications
Expanding Beyond Clap Detection
Once you’ve mastered clap recognition, try adding more sound commands like double claps or whistles. Combine this with other sensors for multi-modal control in your projects.
IoT Integration
Use Arduino boards with Wi-Fi capabilities (like ESP8266 or ESP32) to integrate your clap detection system into IoT networks. This allows you to control smart devices remotely and log sound patterns for analysis.
Conclusion
Training your Arduino to recognize claps using machine learning is a fun and practical way to explore embedded AI. By following this guide, you’ve learned how to collect data, train a model, and deploy it on an Arduino. Experiment with different sound patterns and applications, and take your projects to the next level with advanced features like IoT integration. The possibilities are endless!
FAQ Section
Can I use any Arduino board for this project?
Most Arduino boards (Uno, Nano, Mega) work, but ESP32/ESP8266 offer Wi-Fi capabilities for more advanced applications.
What if my clap detection is too sensitive?
Adjust the model’s threshold or use noise filtering algorithms to reduce sensitivity to background noise.
How do I train the model without a microphone?
You can use pre-recorded audio files for training in Python if you don’t have access to a physical microphone.
Can I use this for voice commands instead of claps?
Yes, but voice recognition requires a more complex model and better audio processing capabilities.
Is TensorFlow Lite the only option?
No, alternatives like Edge Impulse or custom algorithms can also be used for embedded machine learning projects.


